Lending Tutorial
Visit the Lending Protocol
Visit the website of the lending protocol you want to lend to or borrow from. You can easily choose by comparing the APR across lending protocols.Scallop is live at Scallop.io. Visit the app and connect your wallet to get started.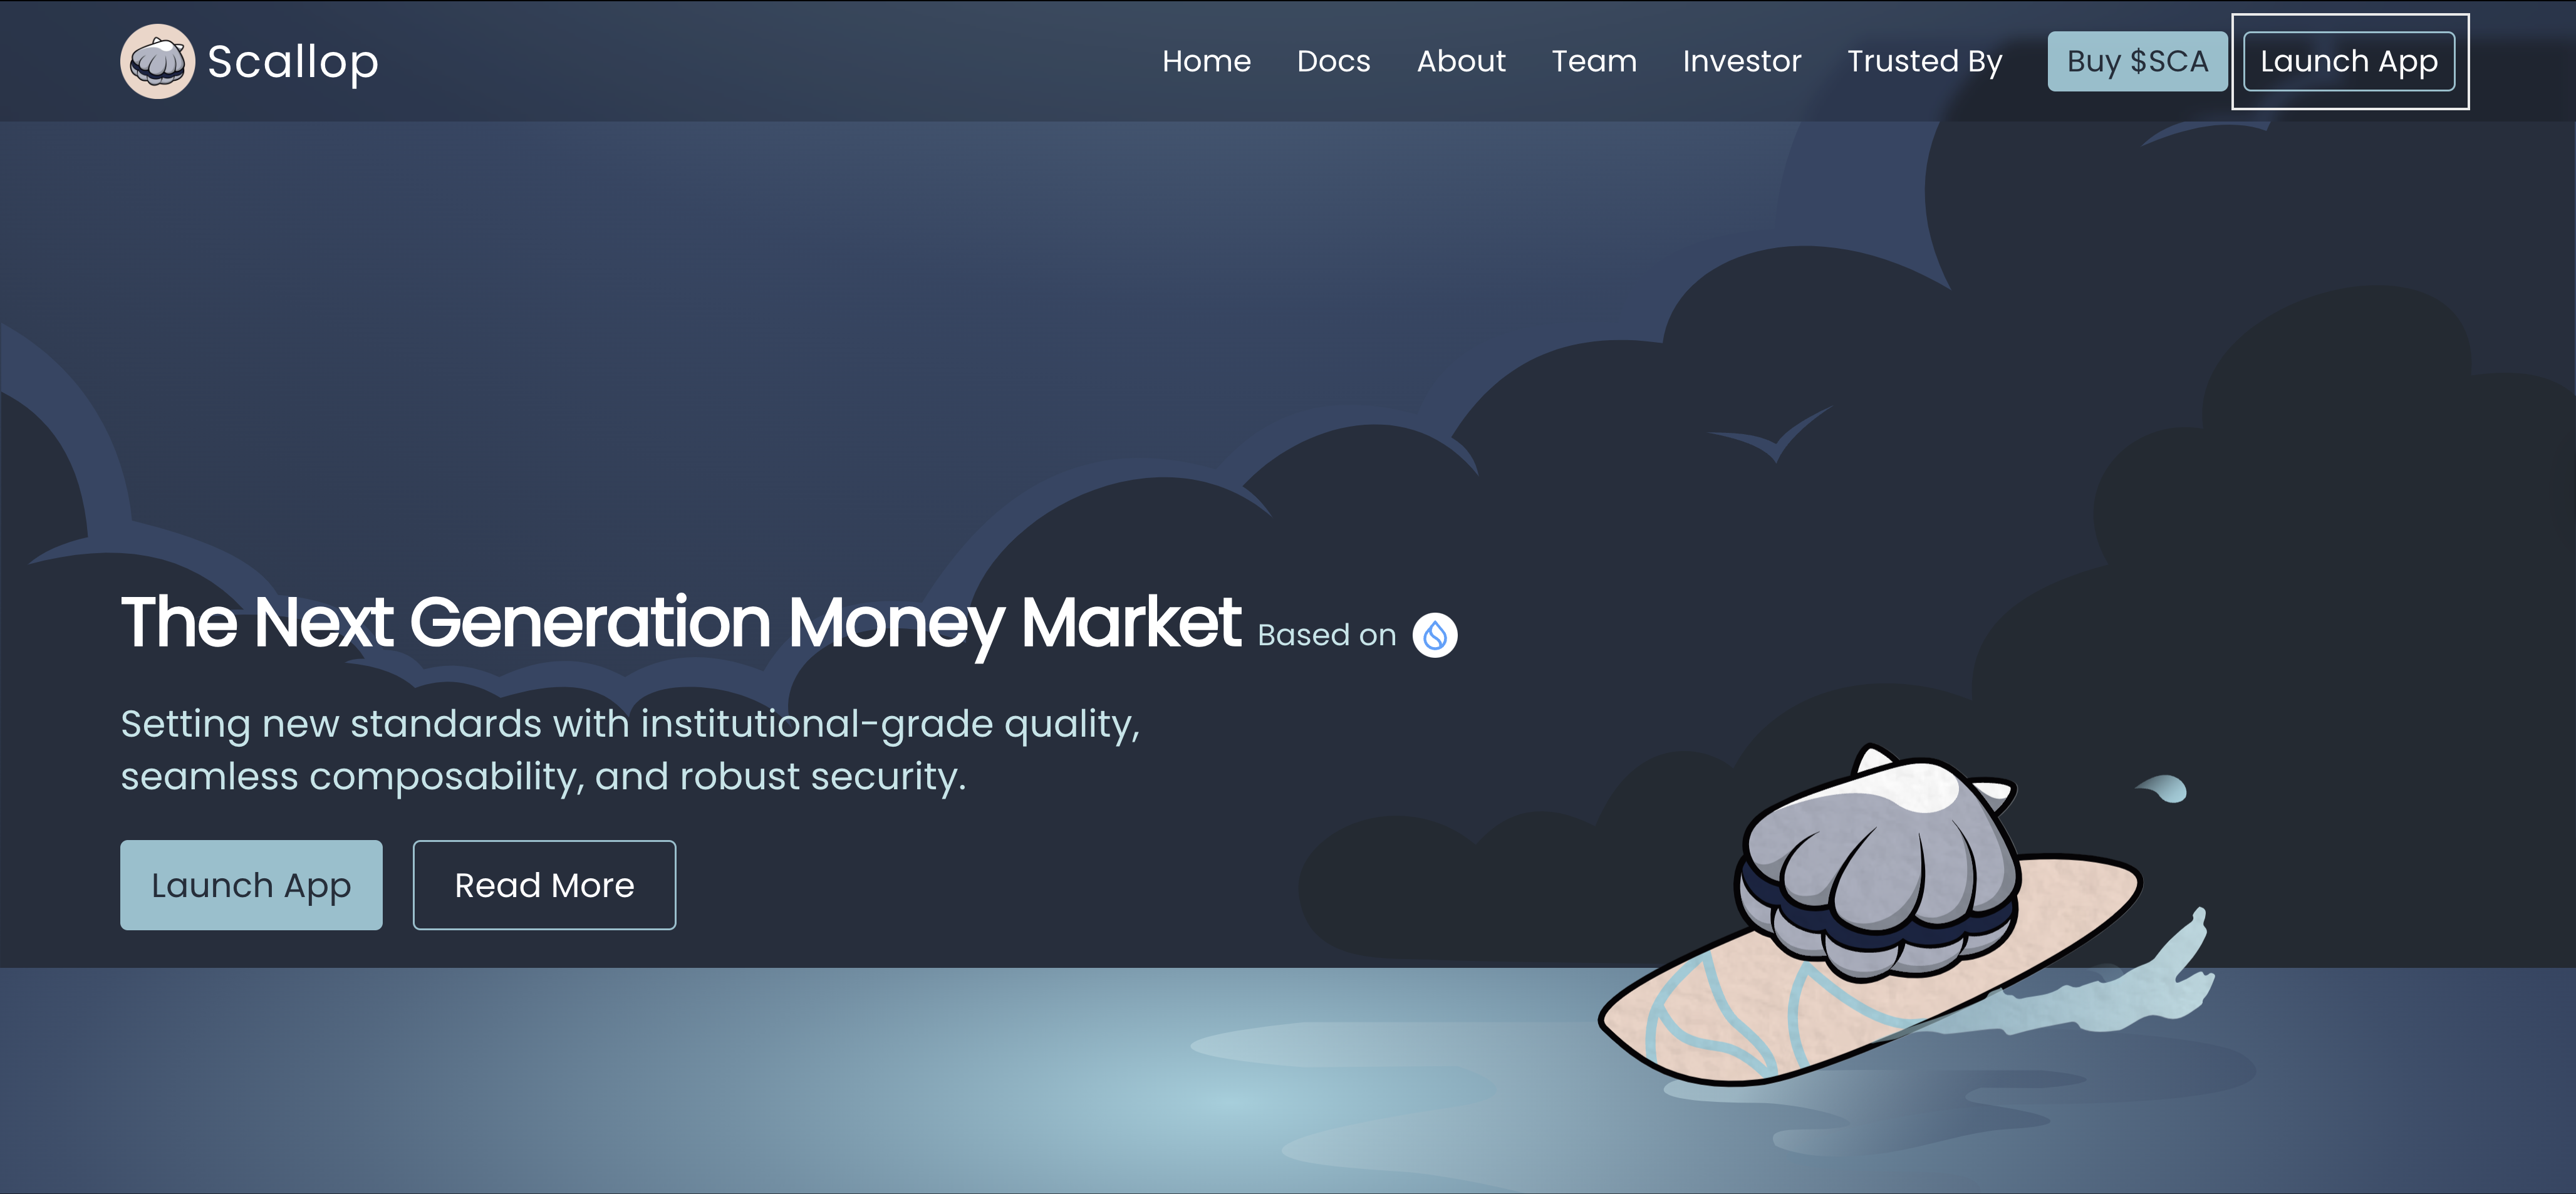
Connect Your Wallet
Click on the “Connect Wallet” button in the top right corner of the page. Select your wallet provider and follow the prompts to connect.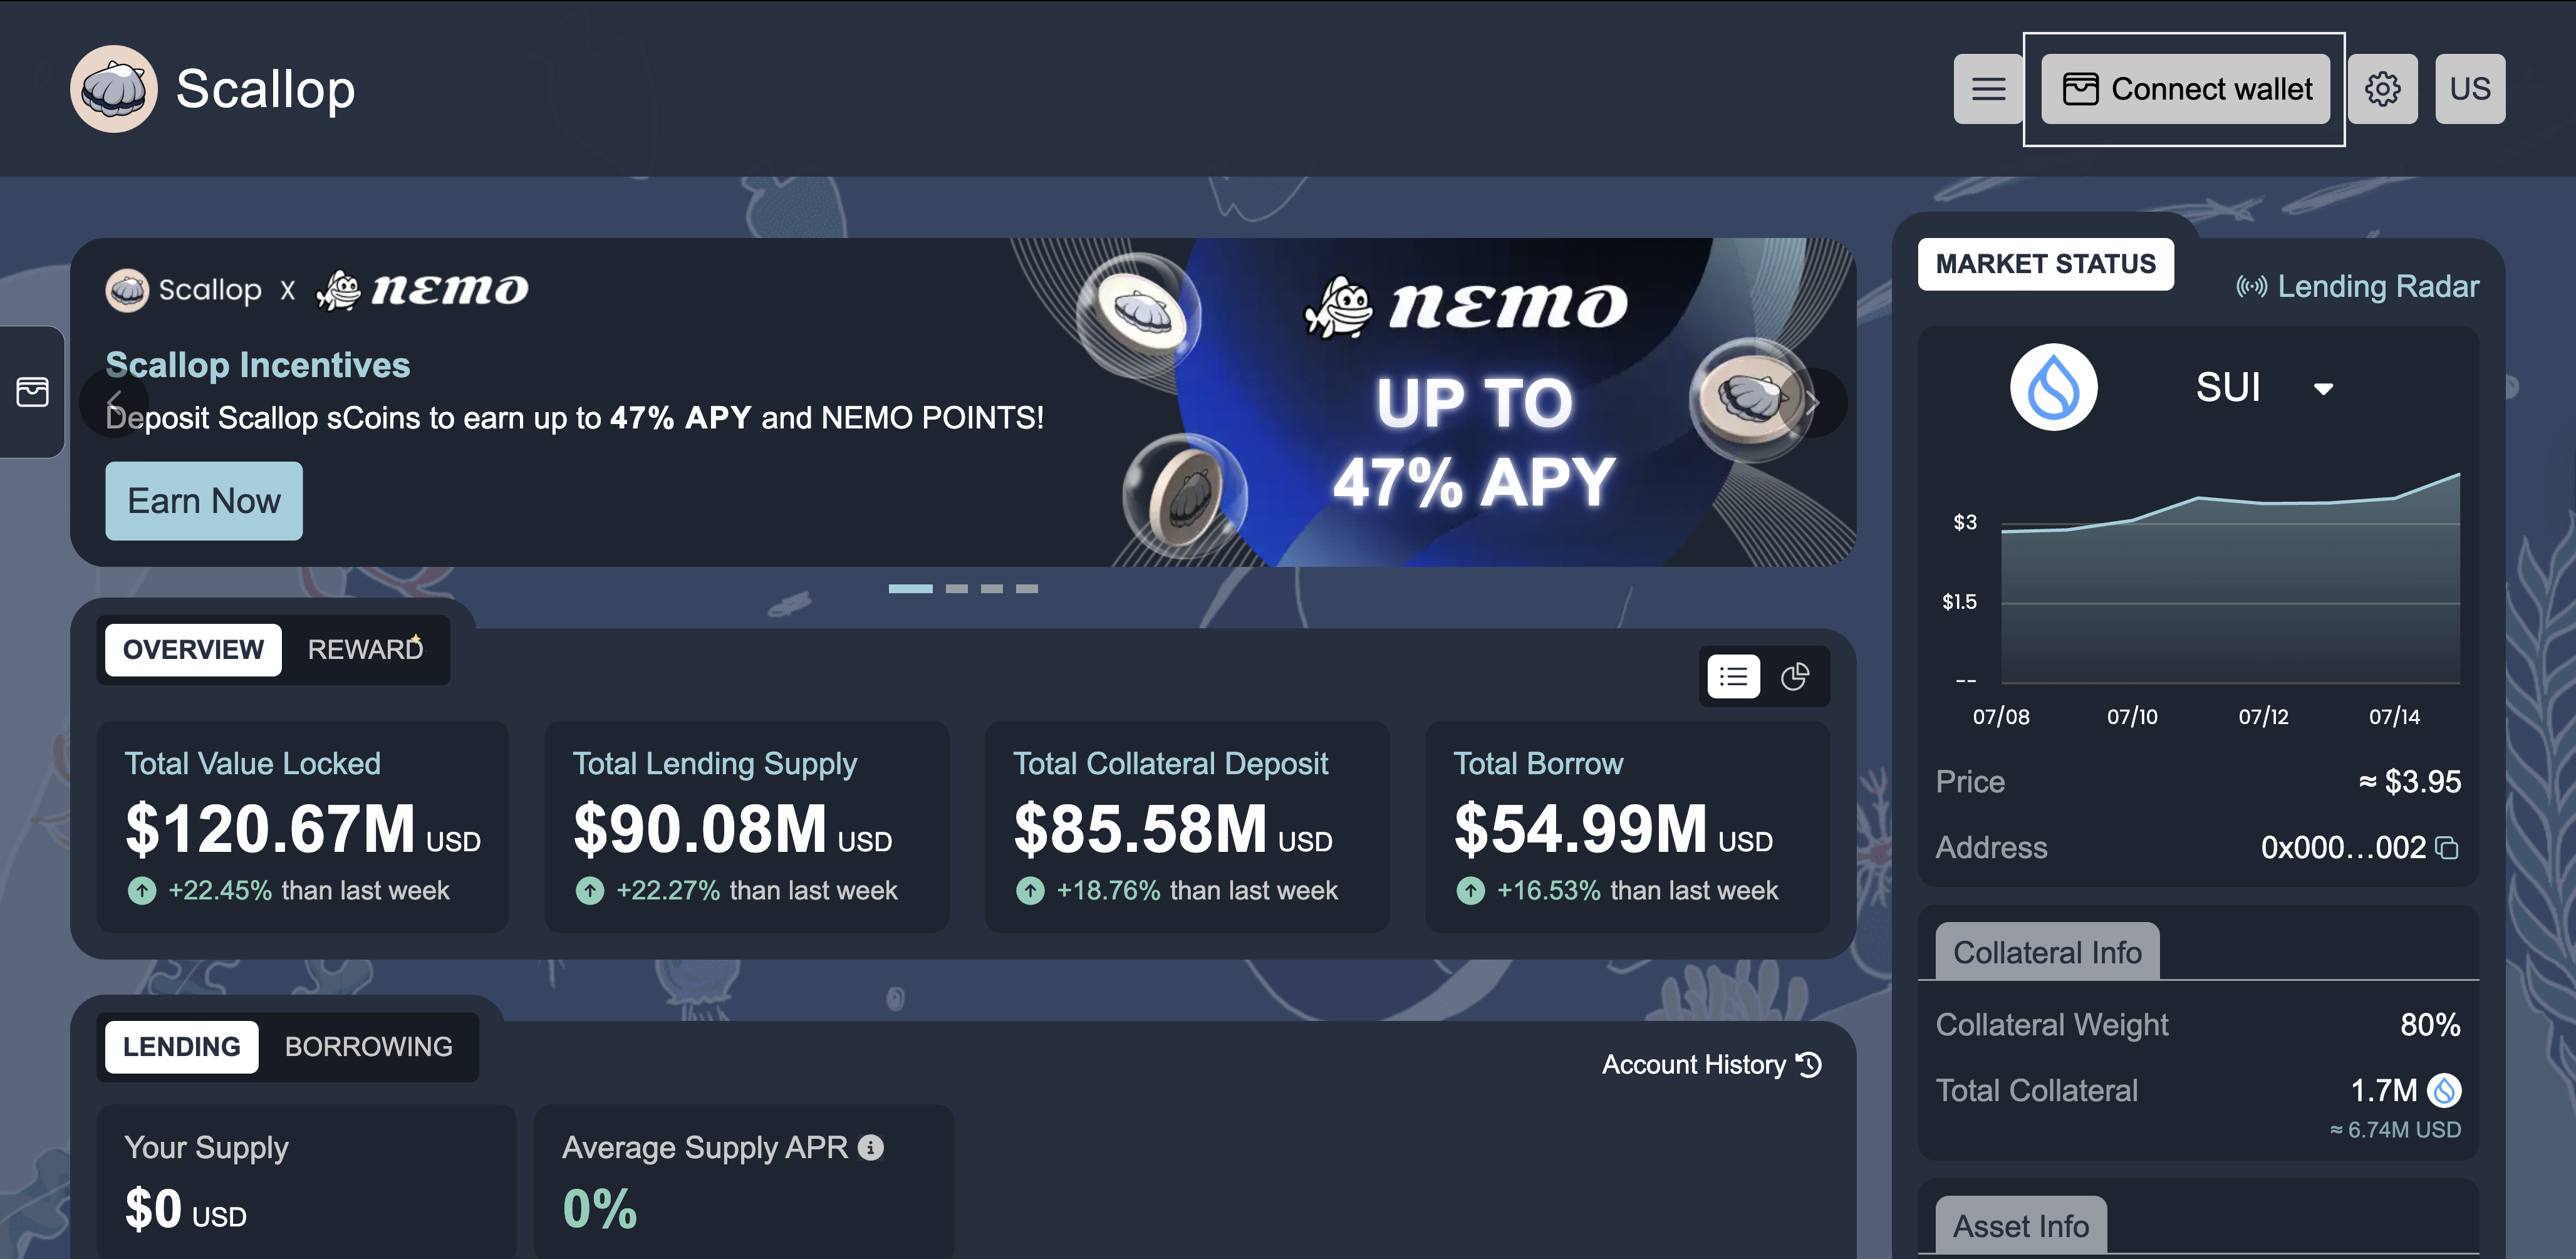
Switch to Lending
Navigate to the “Lend” tab to view available assets for lending. You’ll see a list of supported tokens and their current APY rates.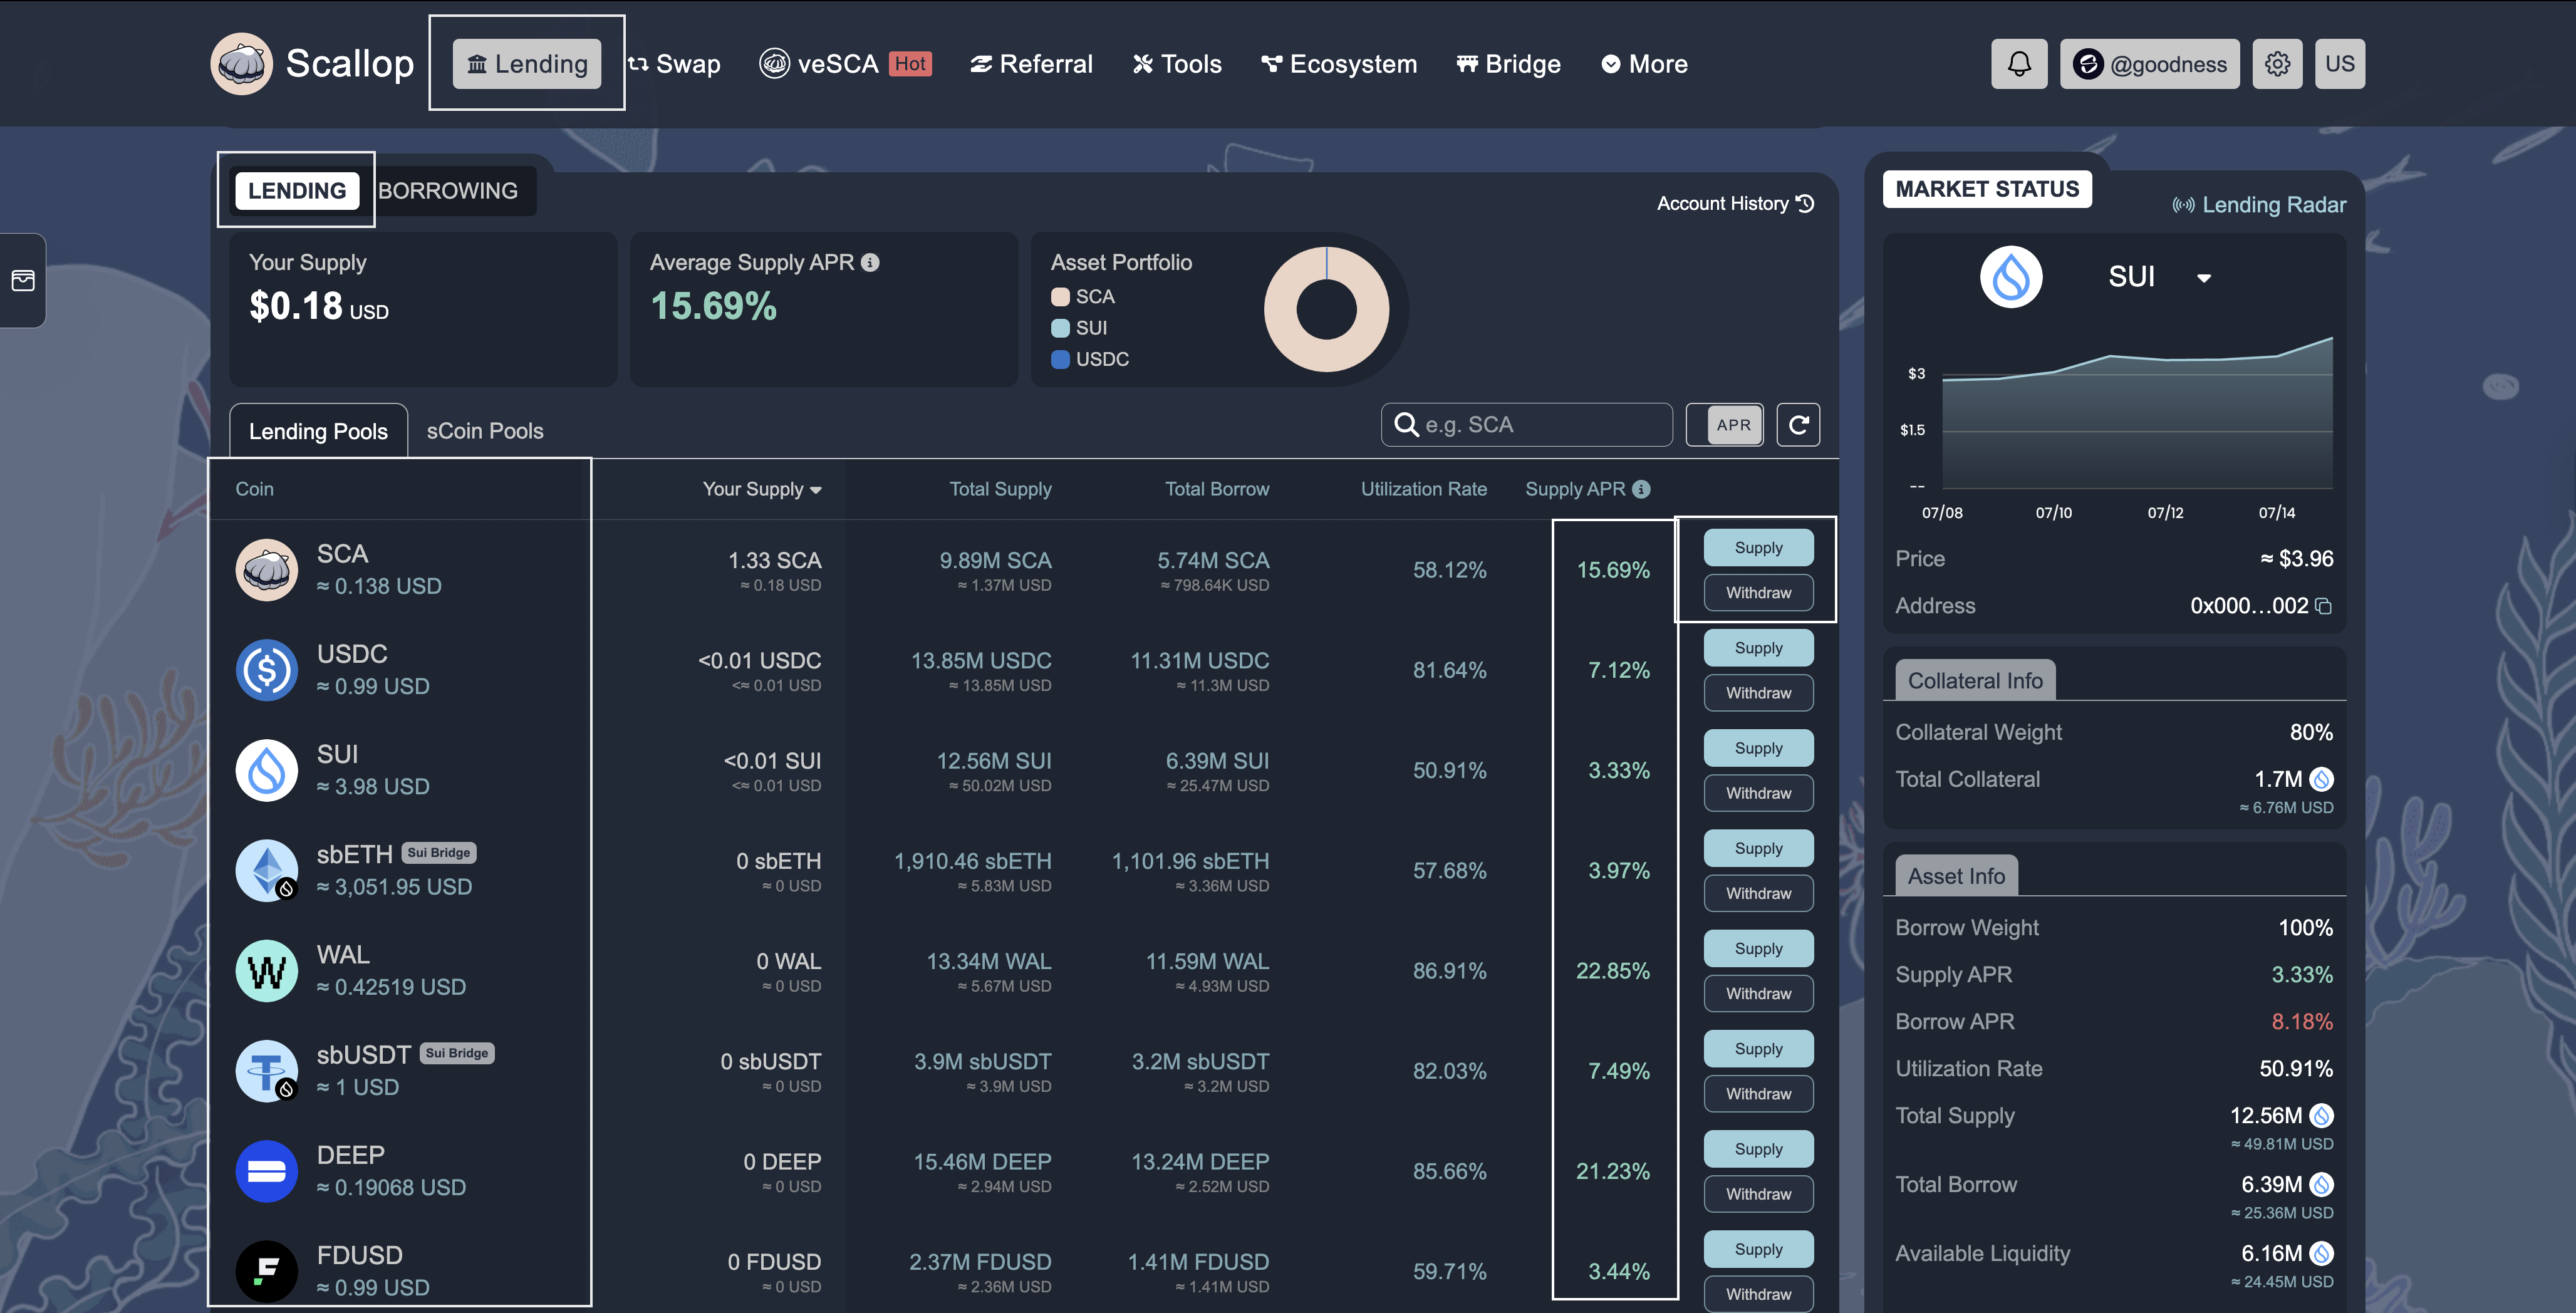
Supply your Assets
Select the asset you wish to lend, enter the amount, and confirm the transaction in your wallet.Once approved, your assets will start earning interest immediately.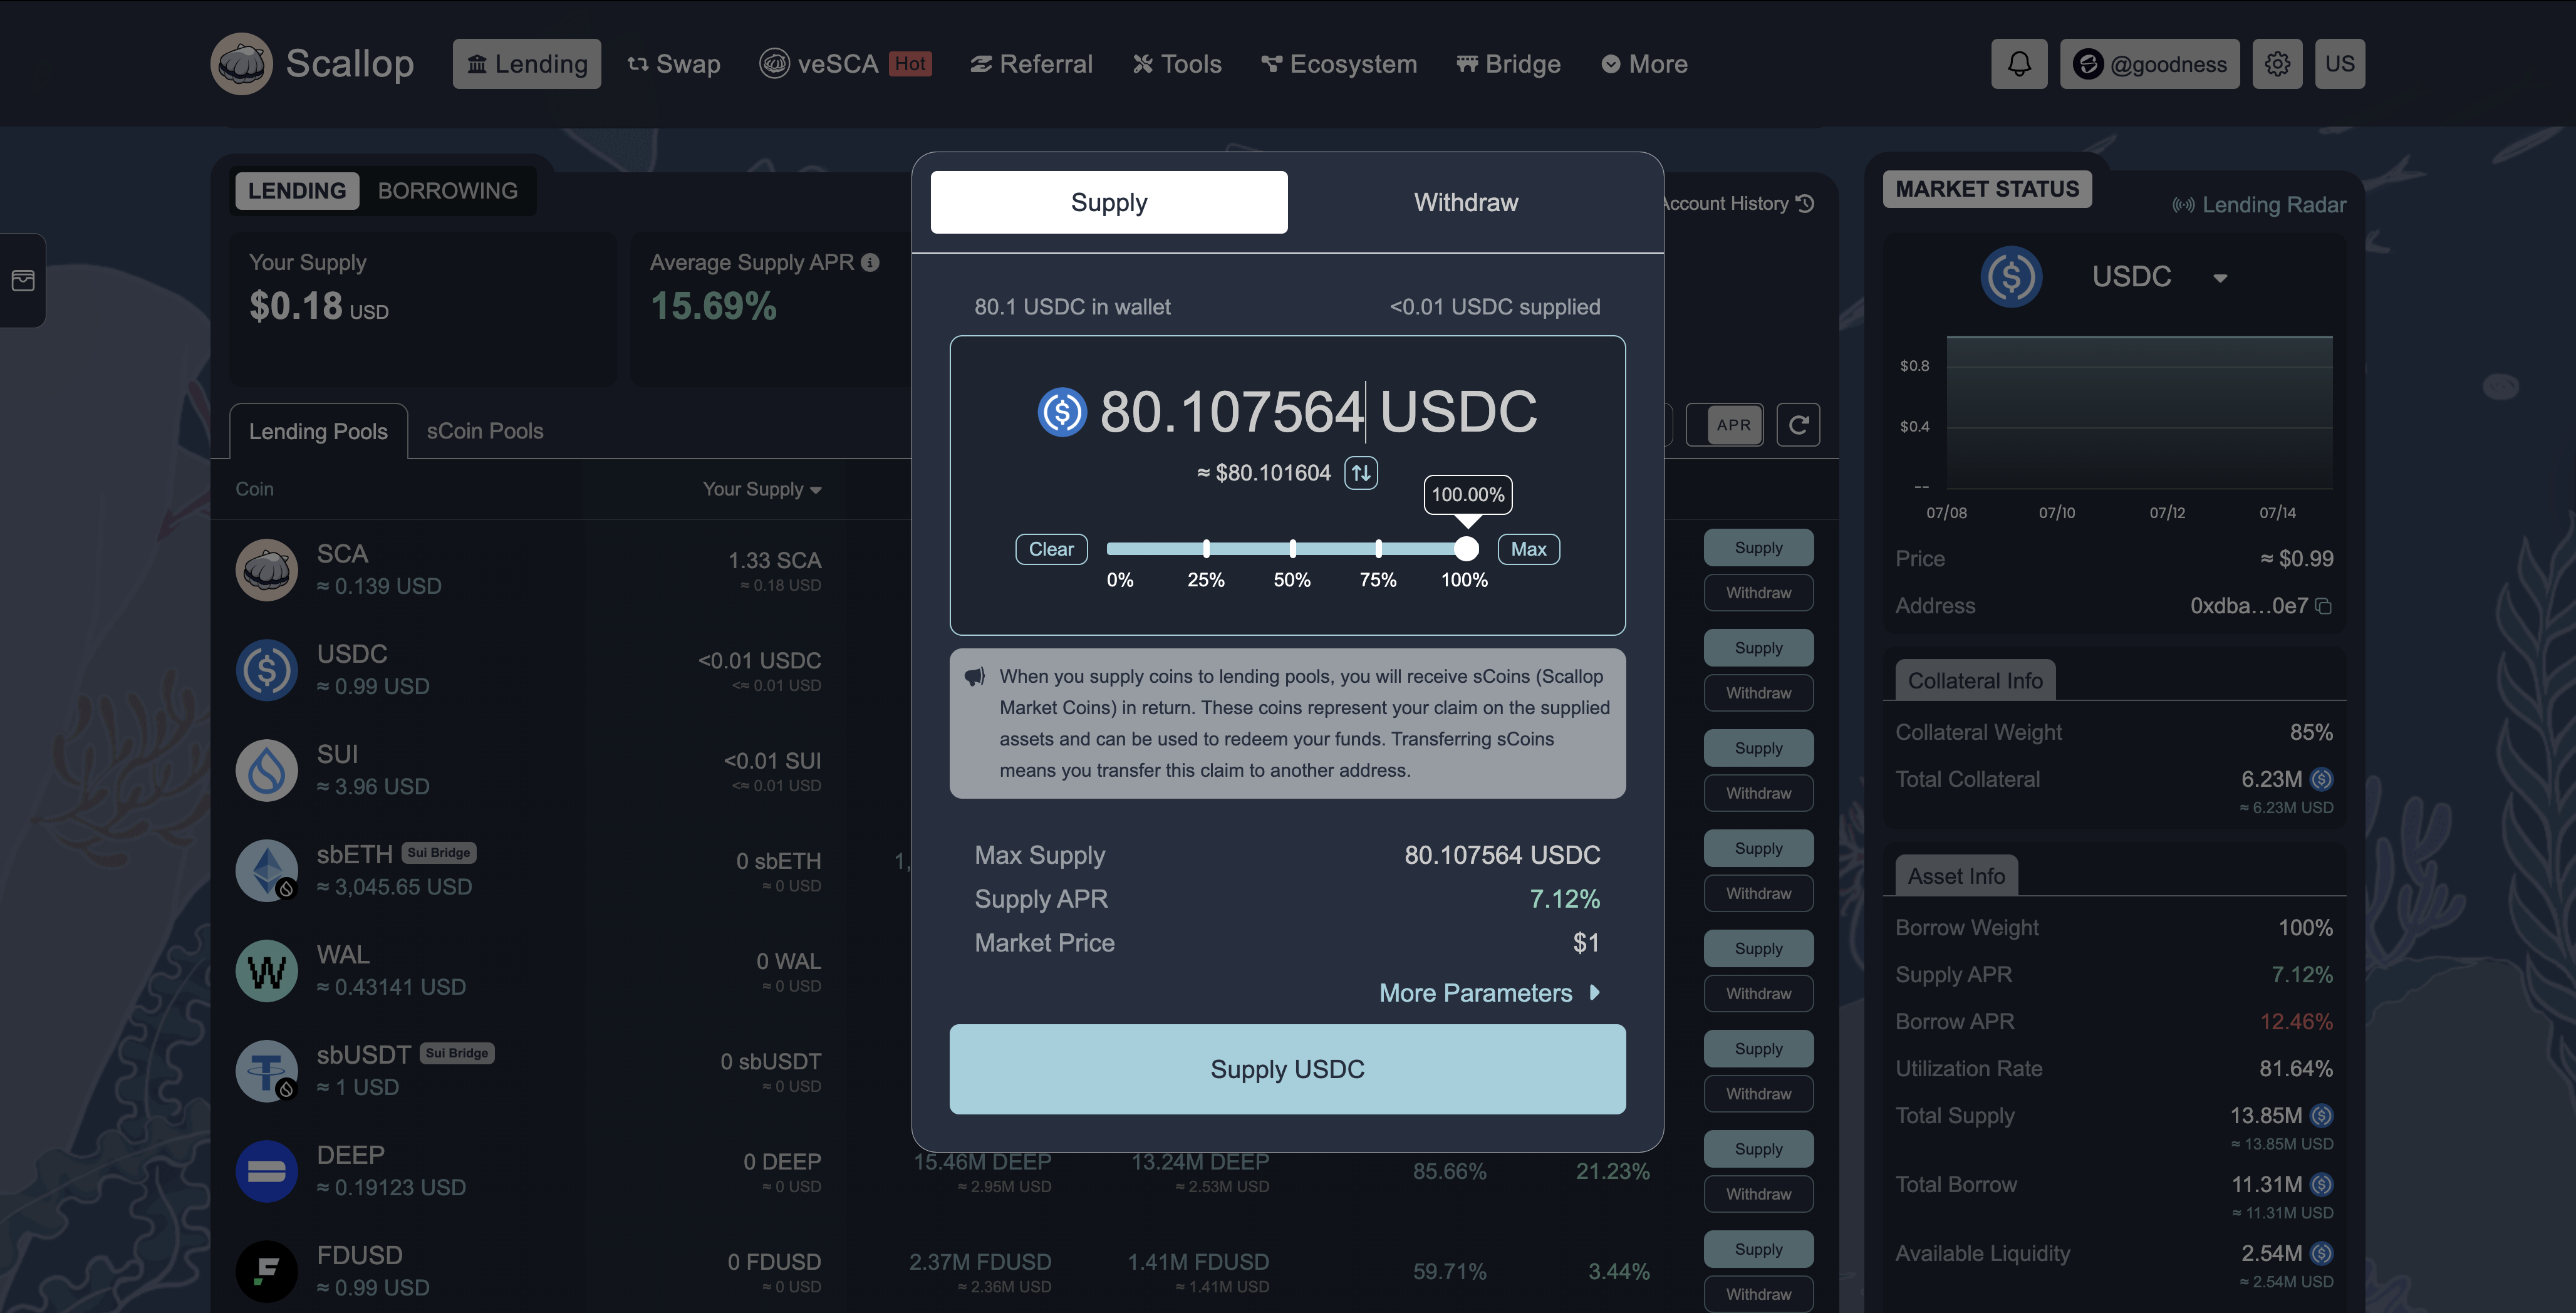
Borrowing Tutorial
To borrow assets, you’ll first need to supply collateral to secure your loan.Toggle Borrowing
Switch to the “Borrow” tab to see available assets for borrowing and their respective interest rates.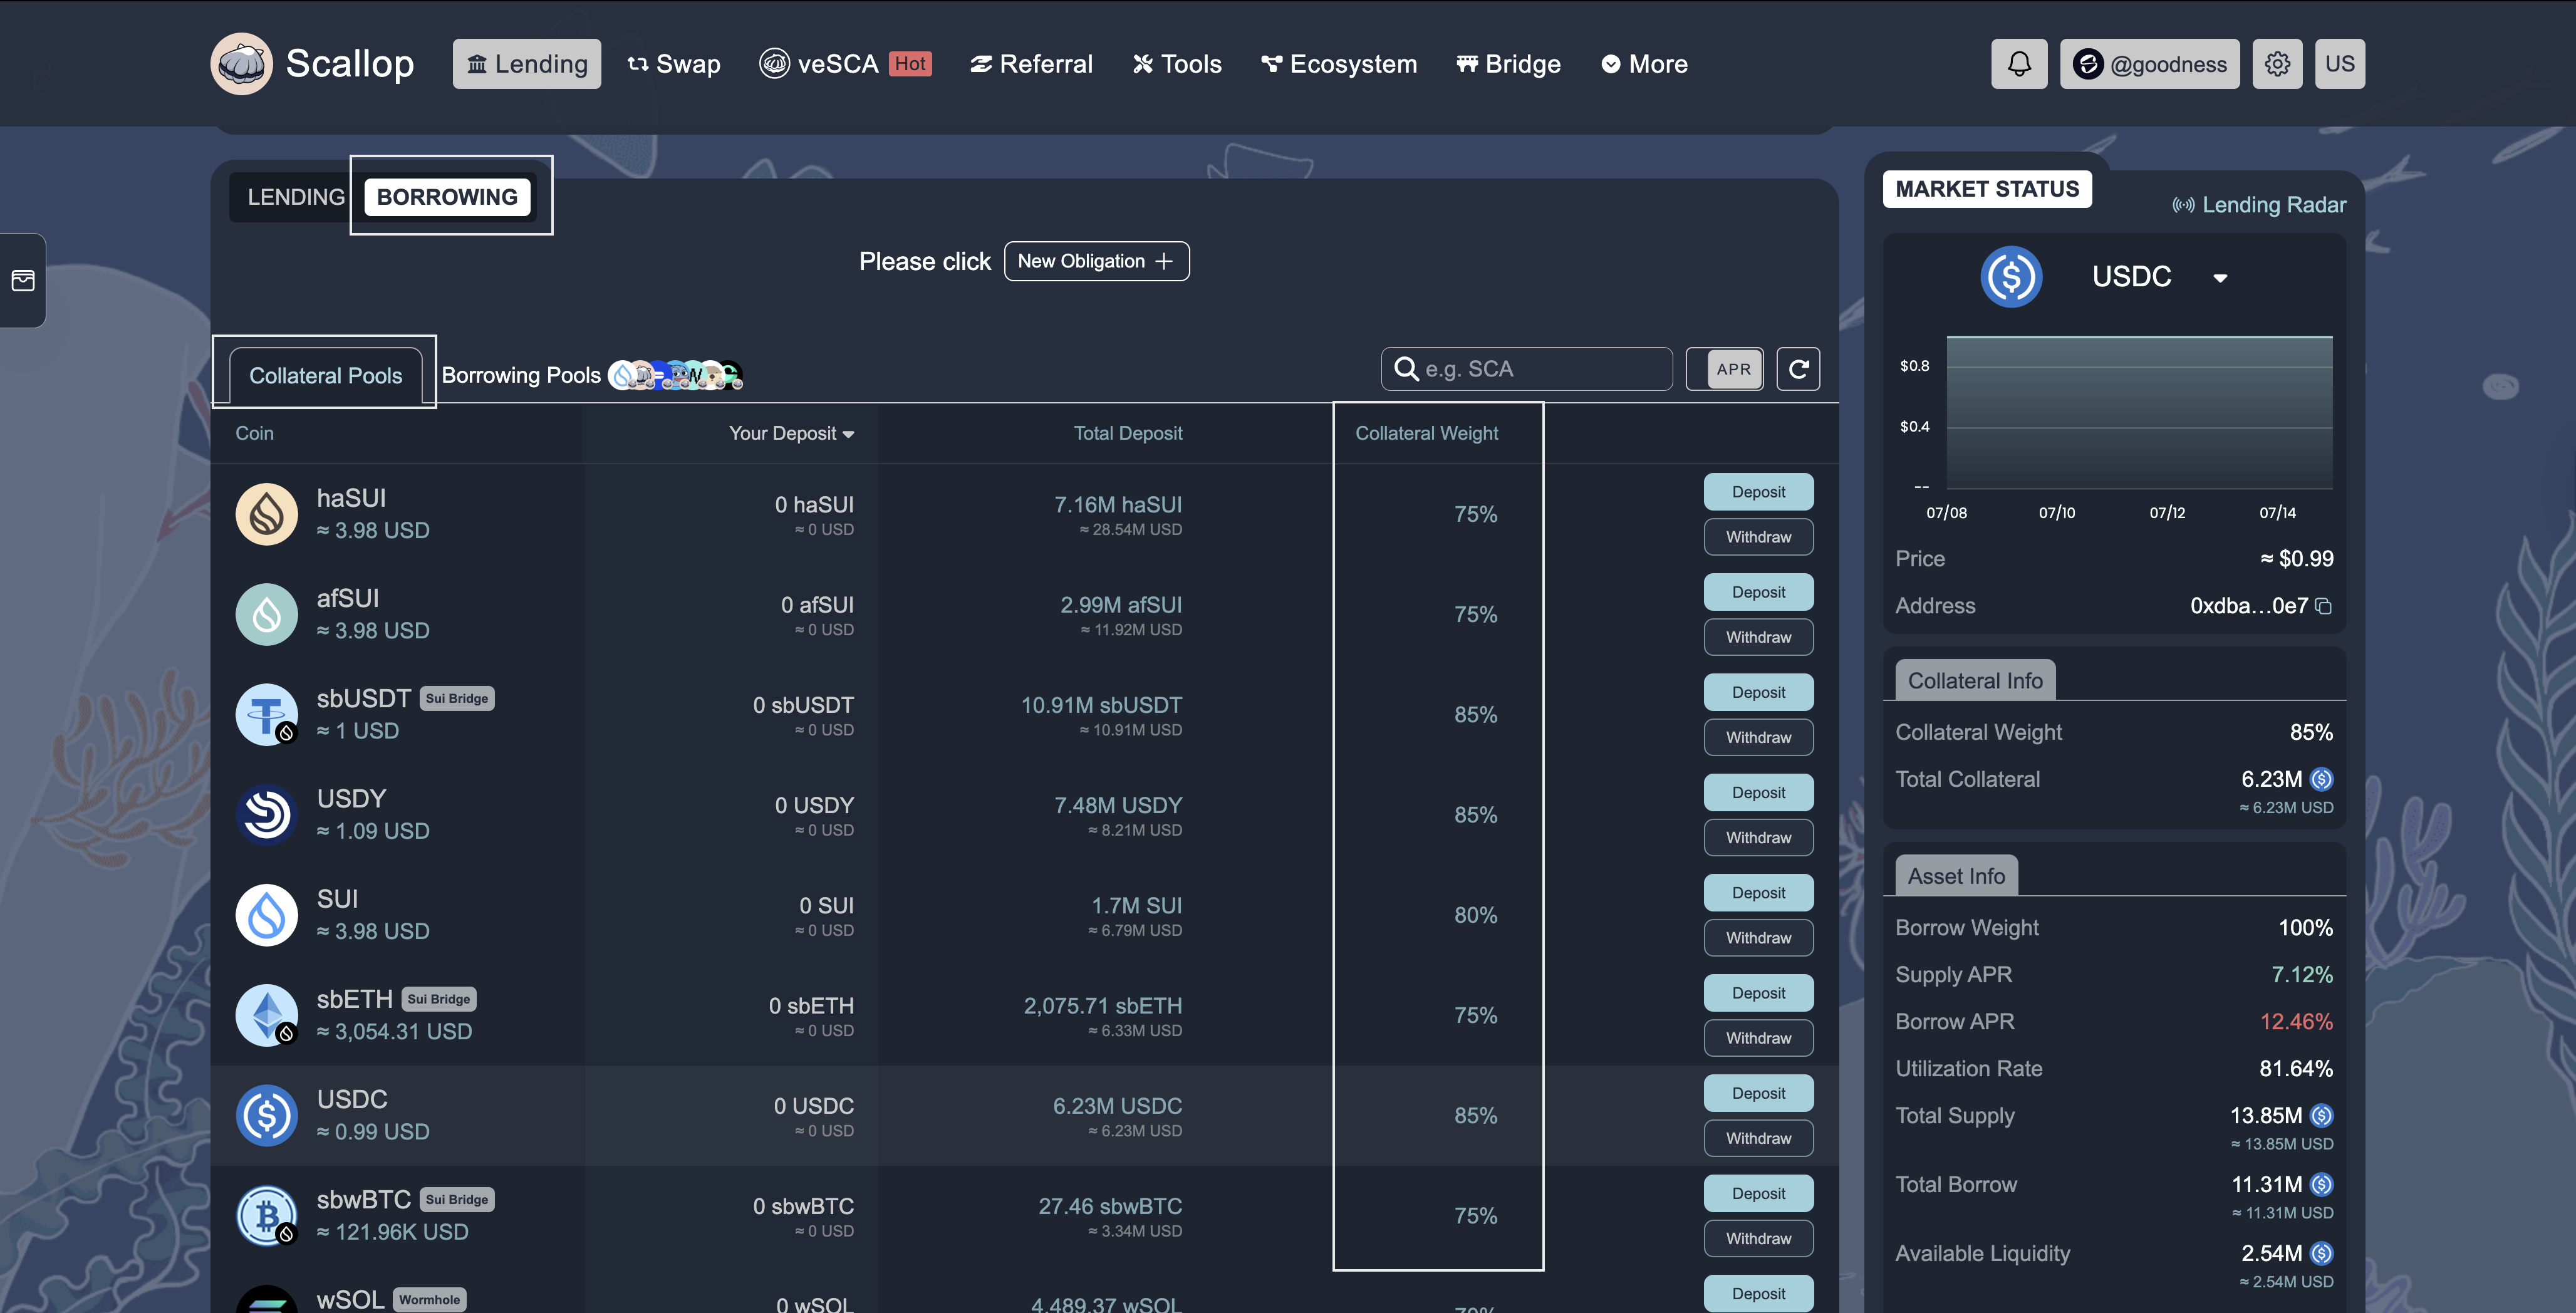
Supply Collateral
Before borrowing, you must provide collateral. Select an asset to use as collateral and deposit it into the protocol.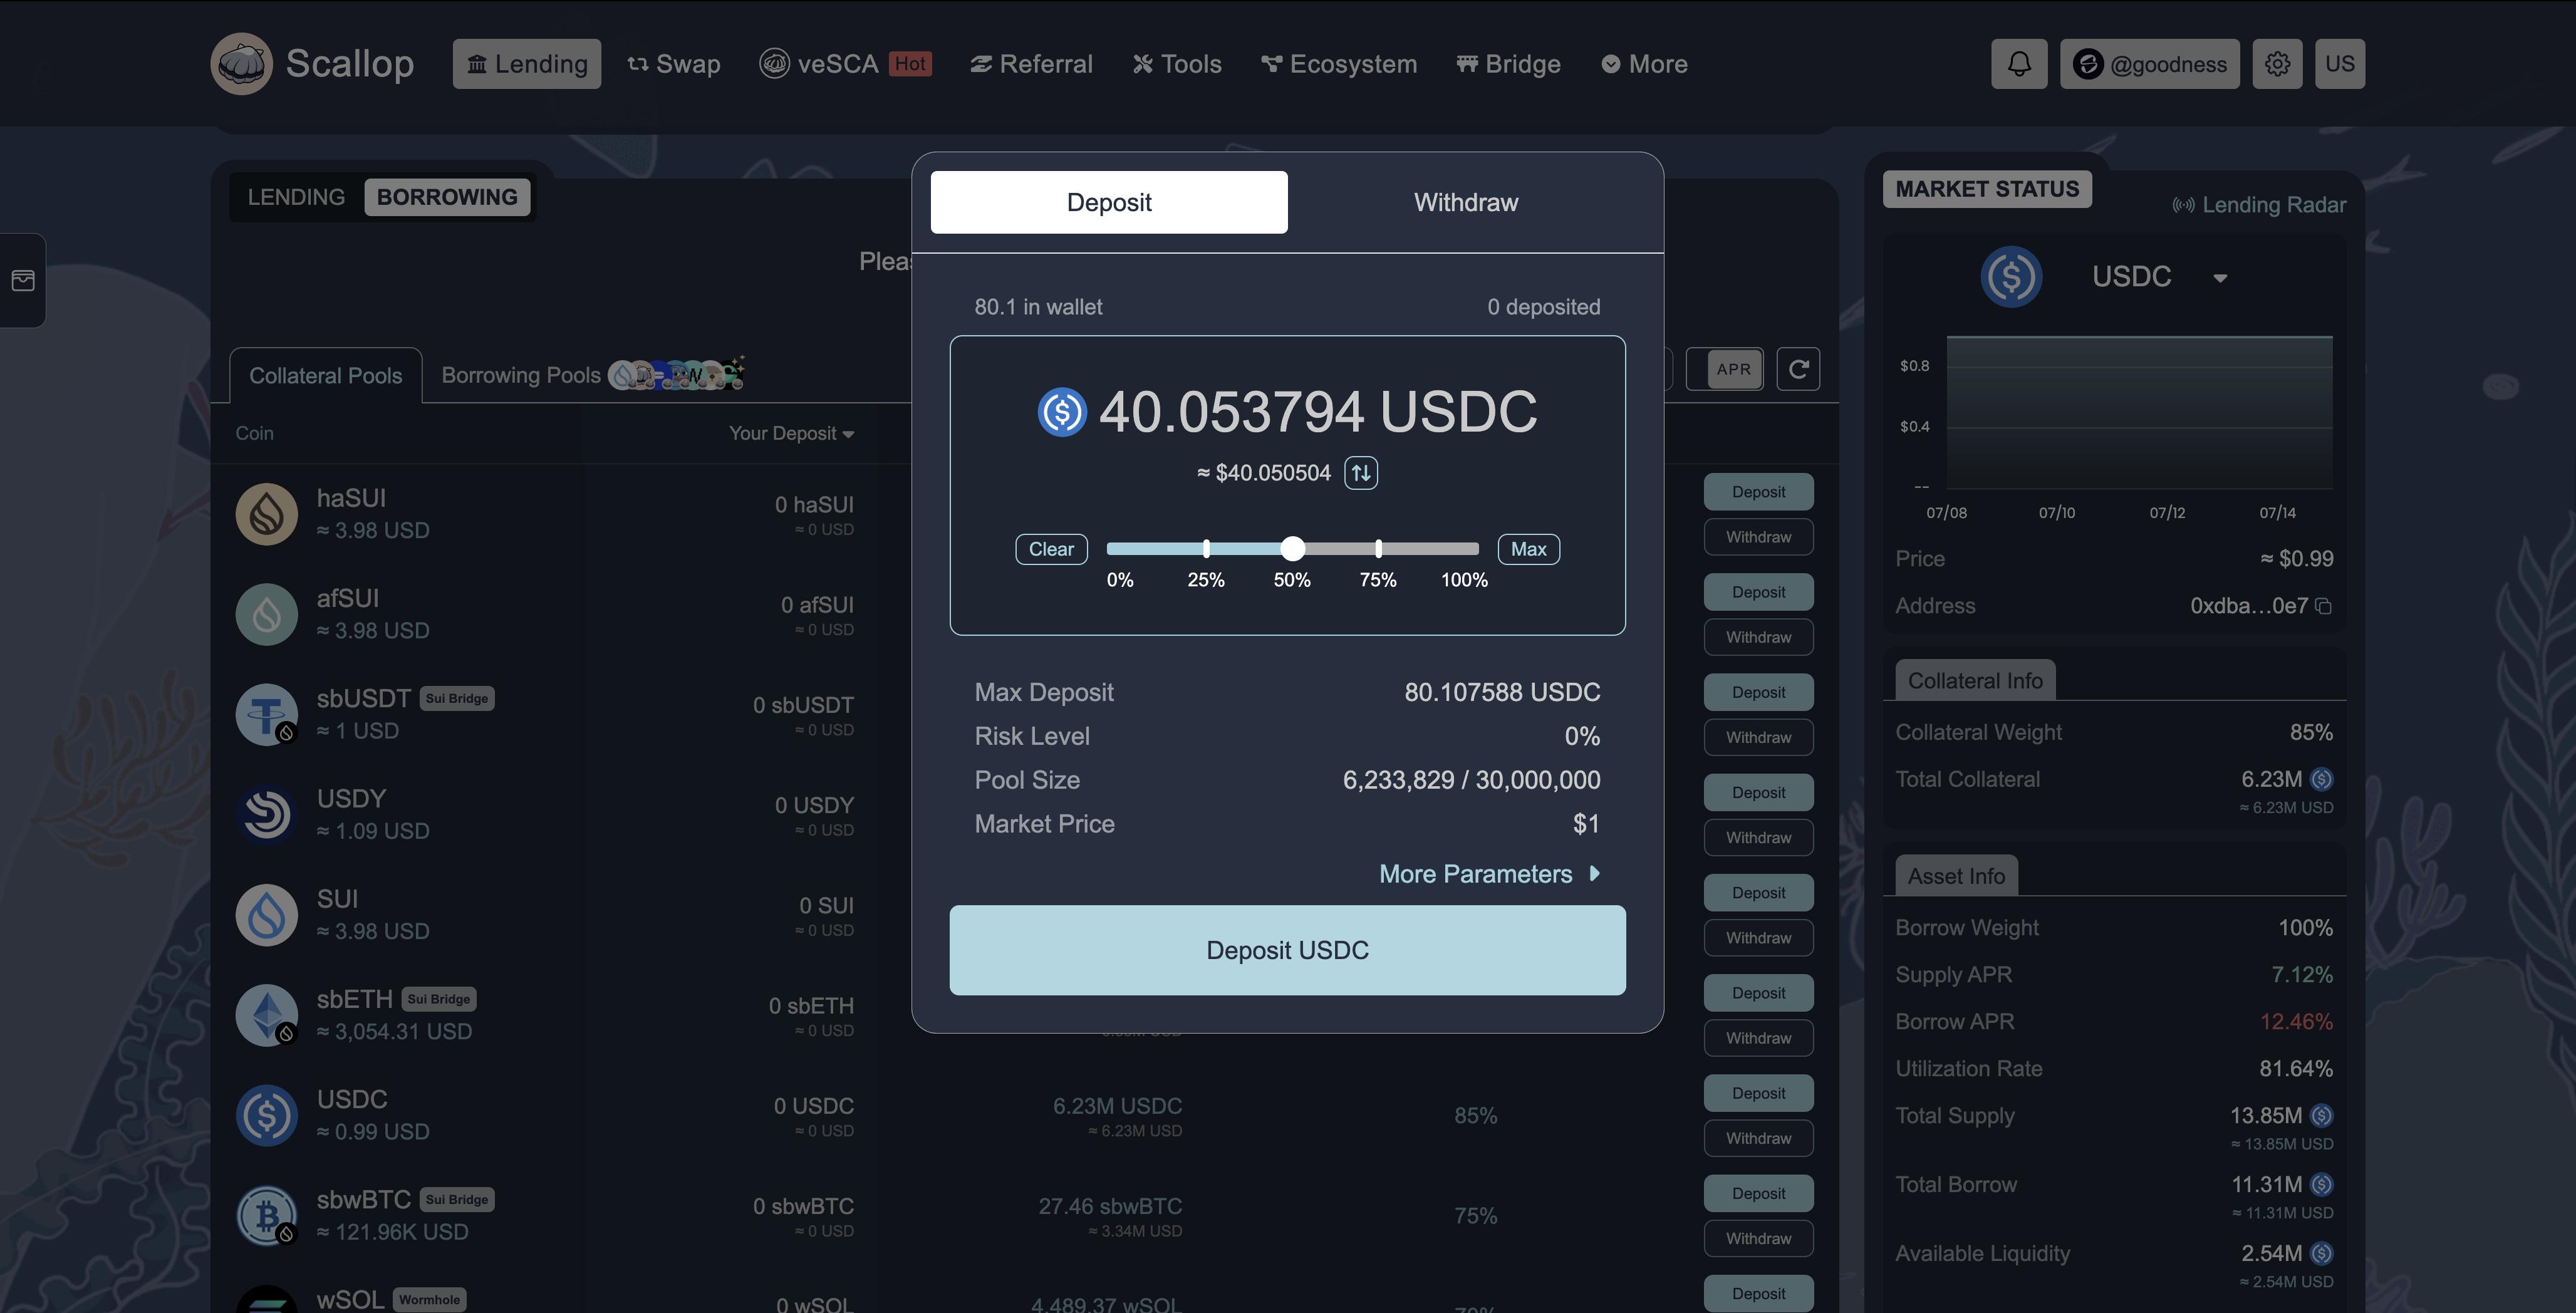
Borrow the Asset
After supplying collateral, you can borrow other assets. The amount you can borrow depends on the value of your collateral and the protocol’s loan-to-value ratio.Select the asset you want to borrow, enter the amount (staying within your borrowing limit), and confirm the transaction in your wallet.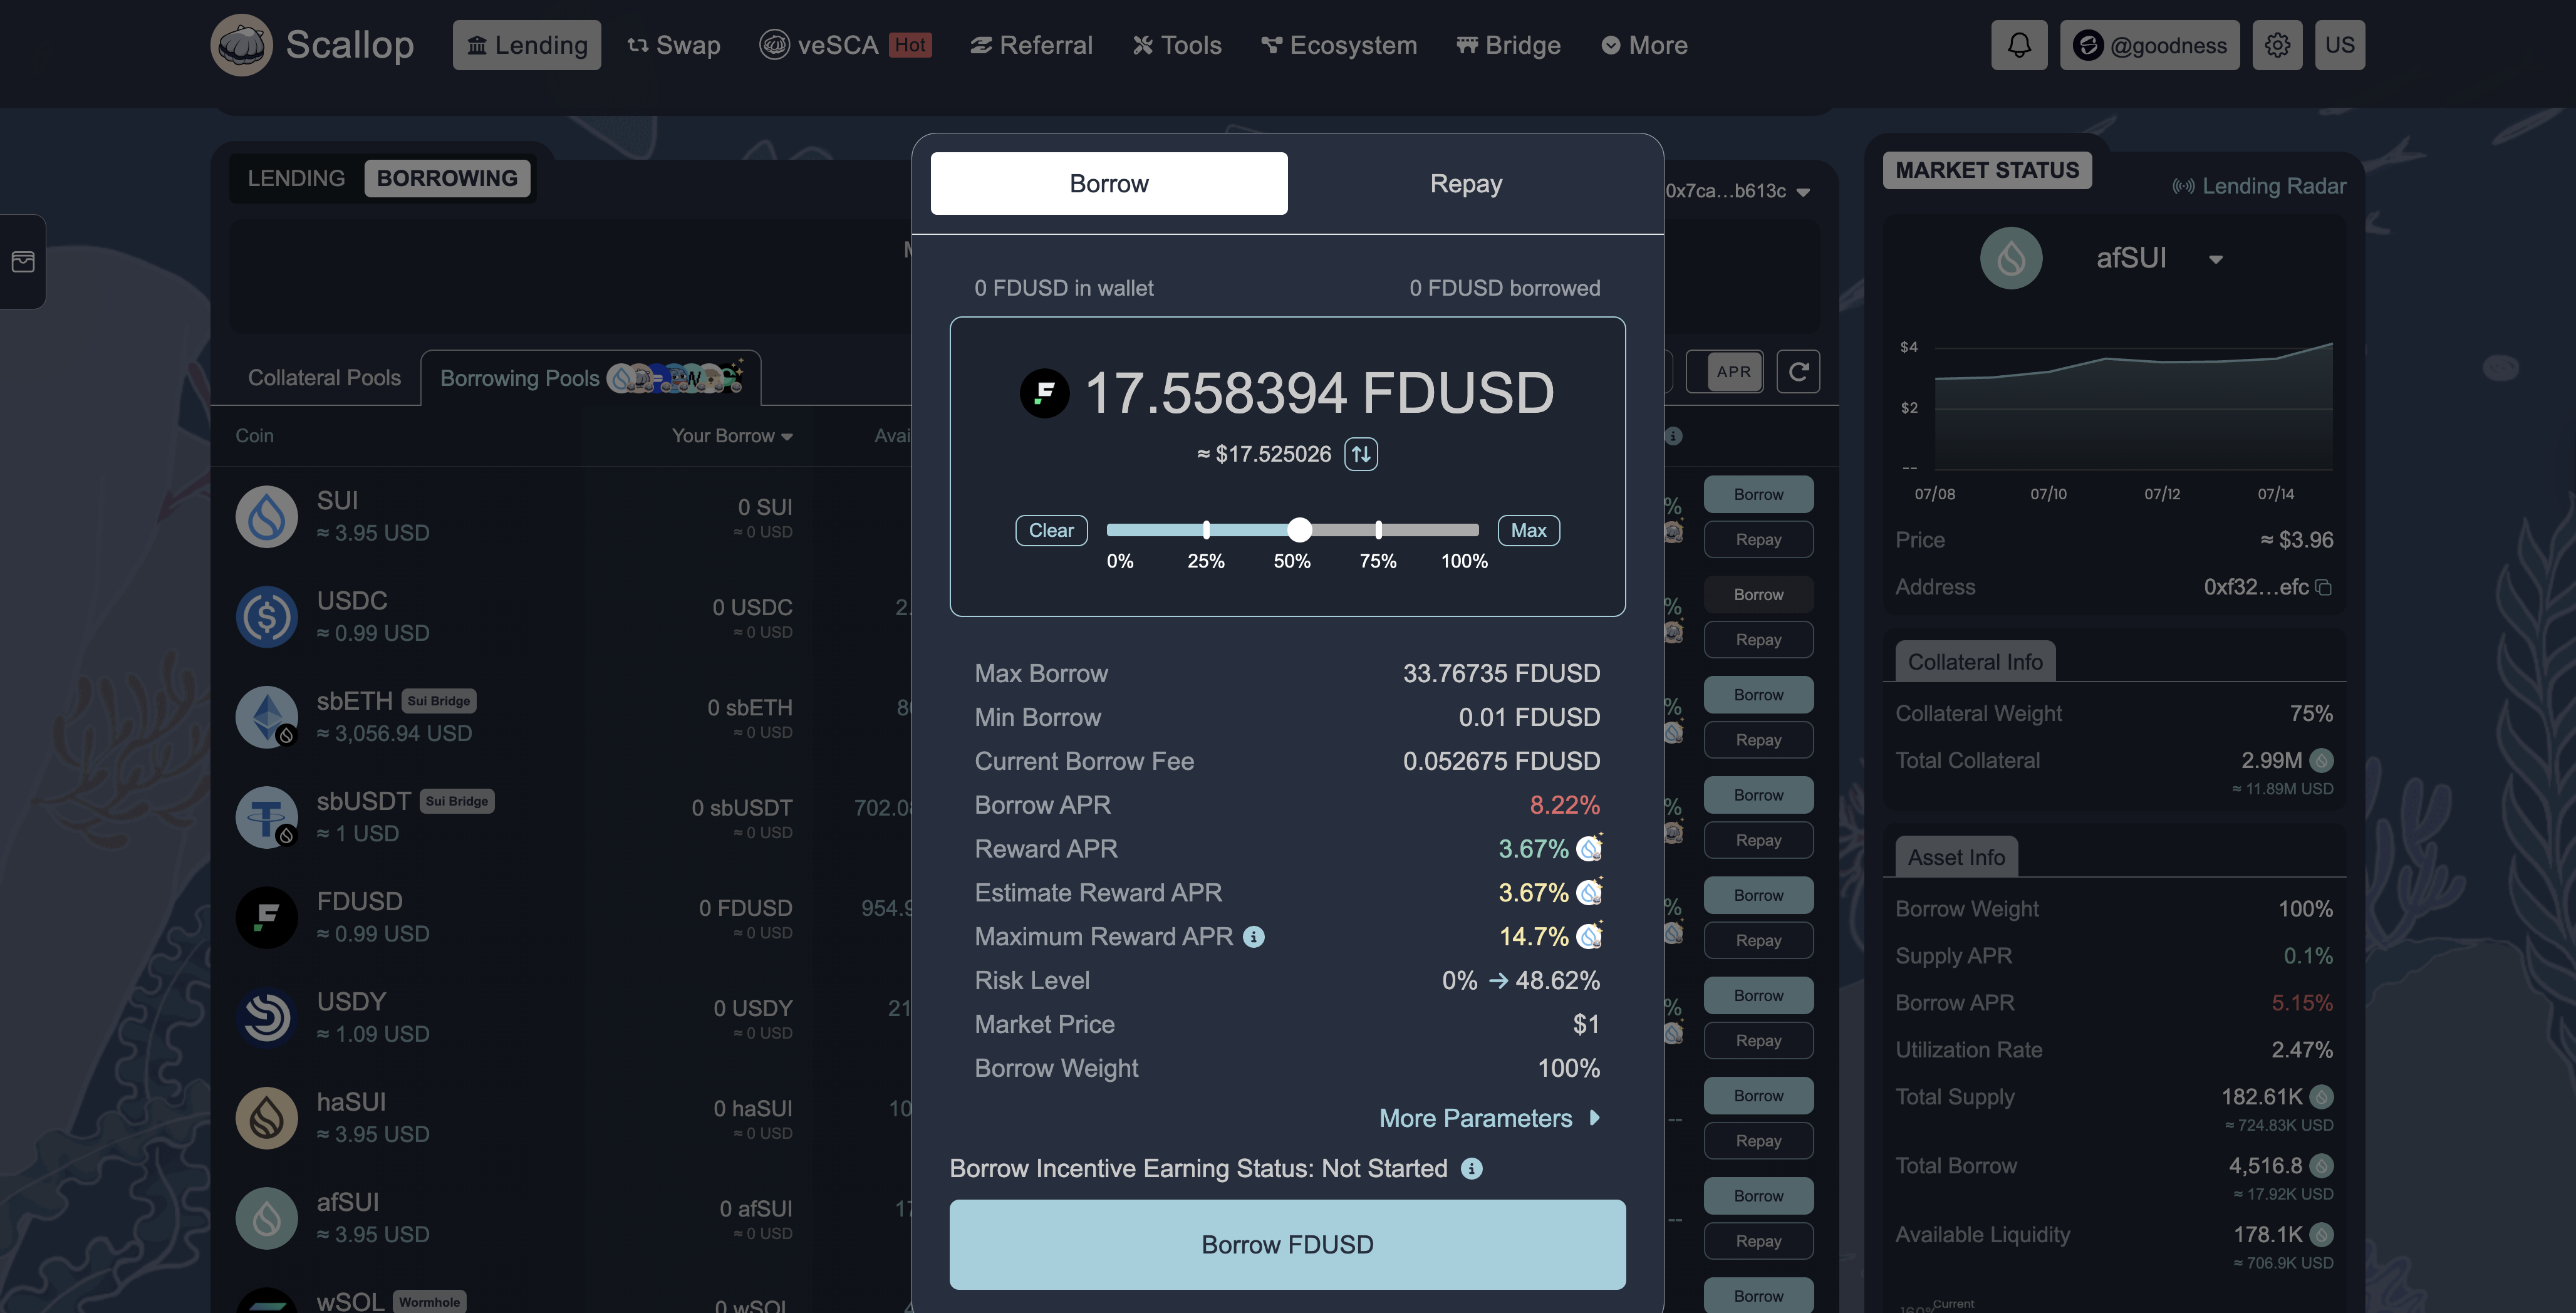
Repay your Loans
To avoid liquidation, monitor your health factor and repay your loans on time. Toggle “Repay”, select the borrowed asset, enter the amount you wish to repay, and confirm the transaction.Simply select the specific asset you borrowed and repay the loan.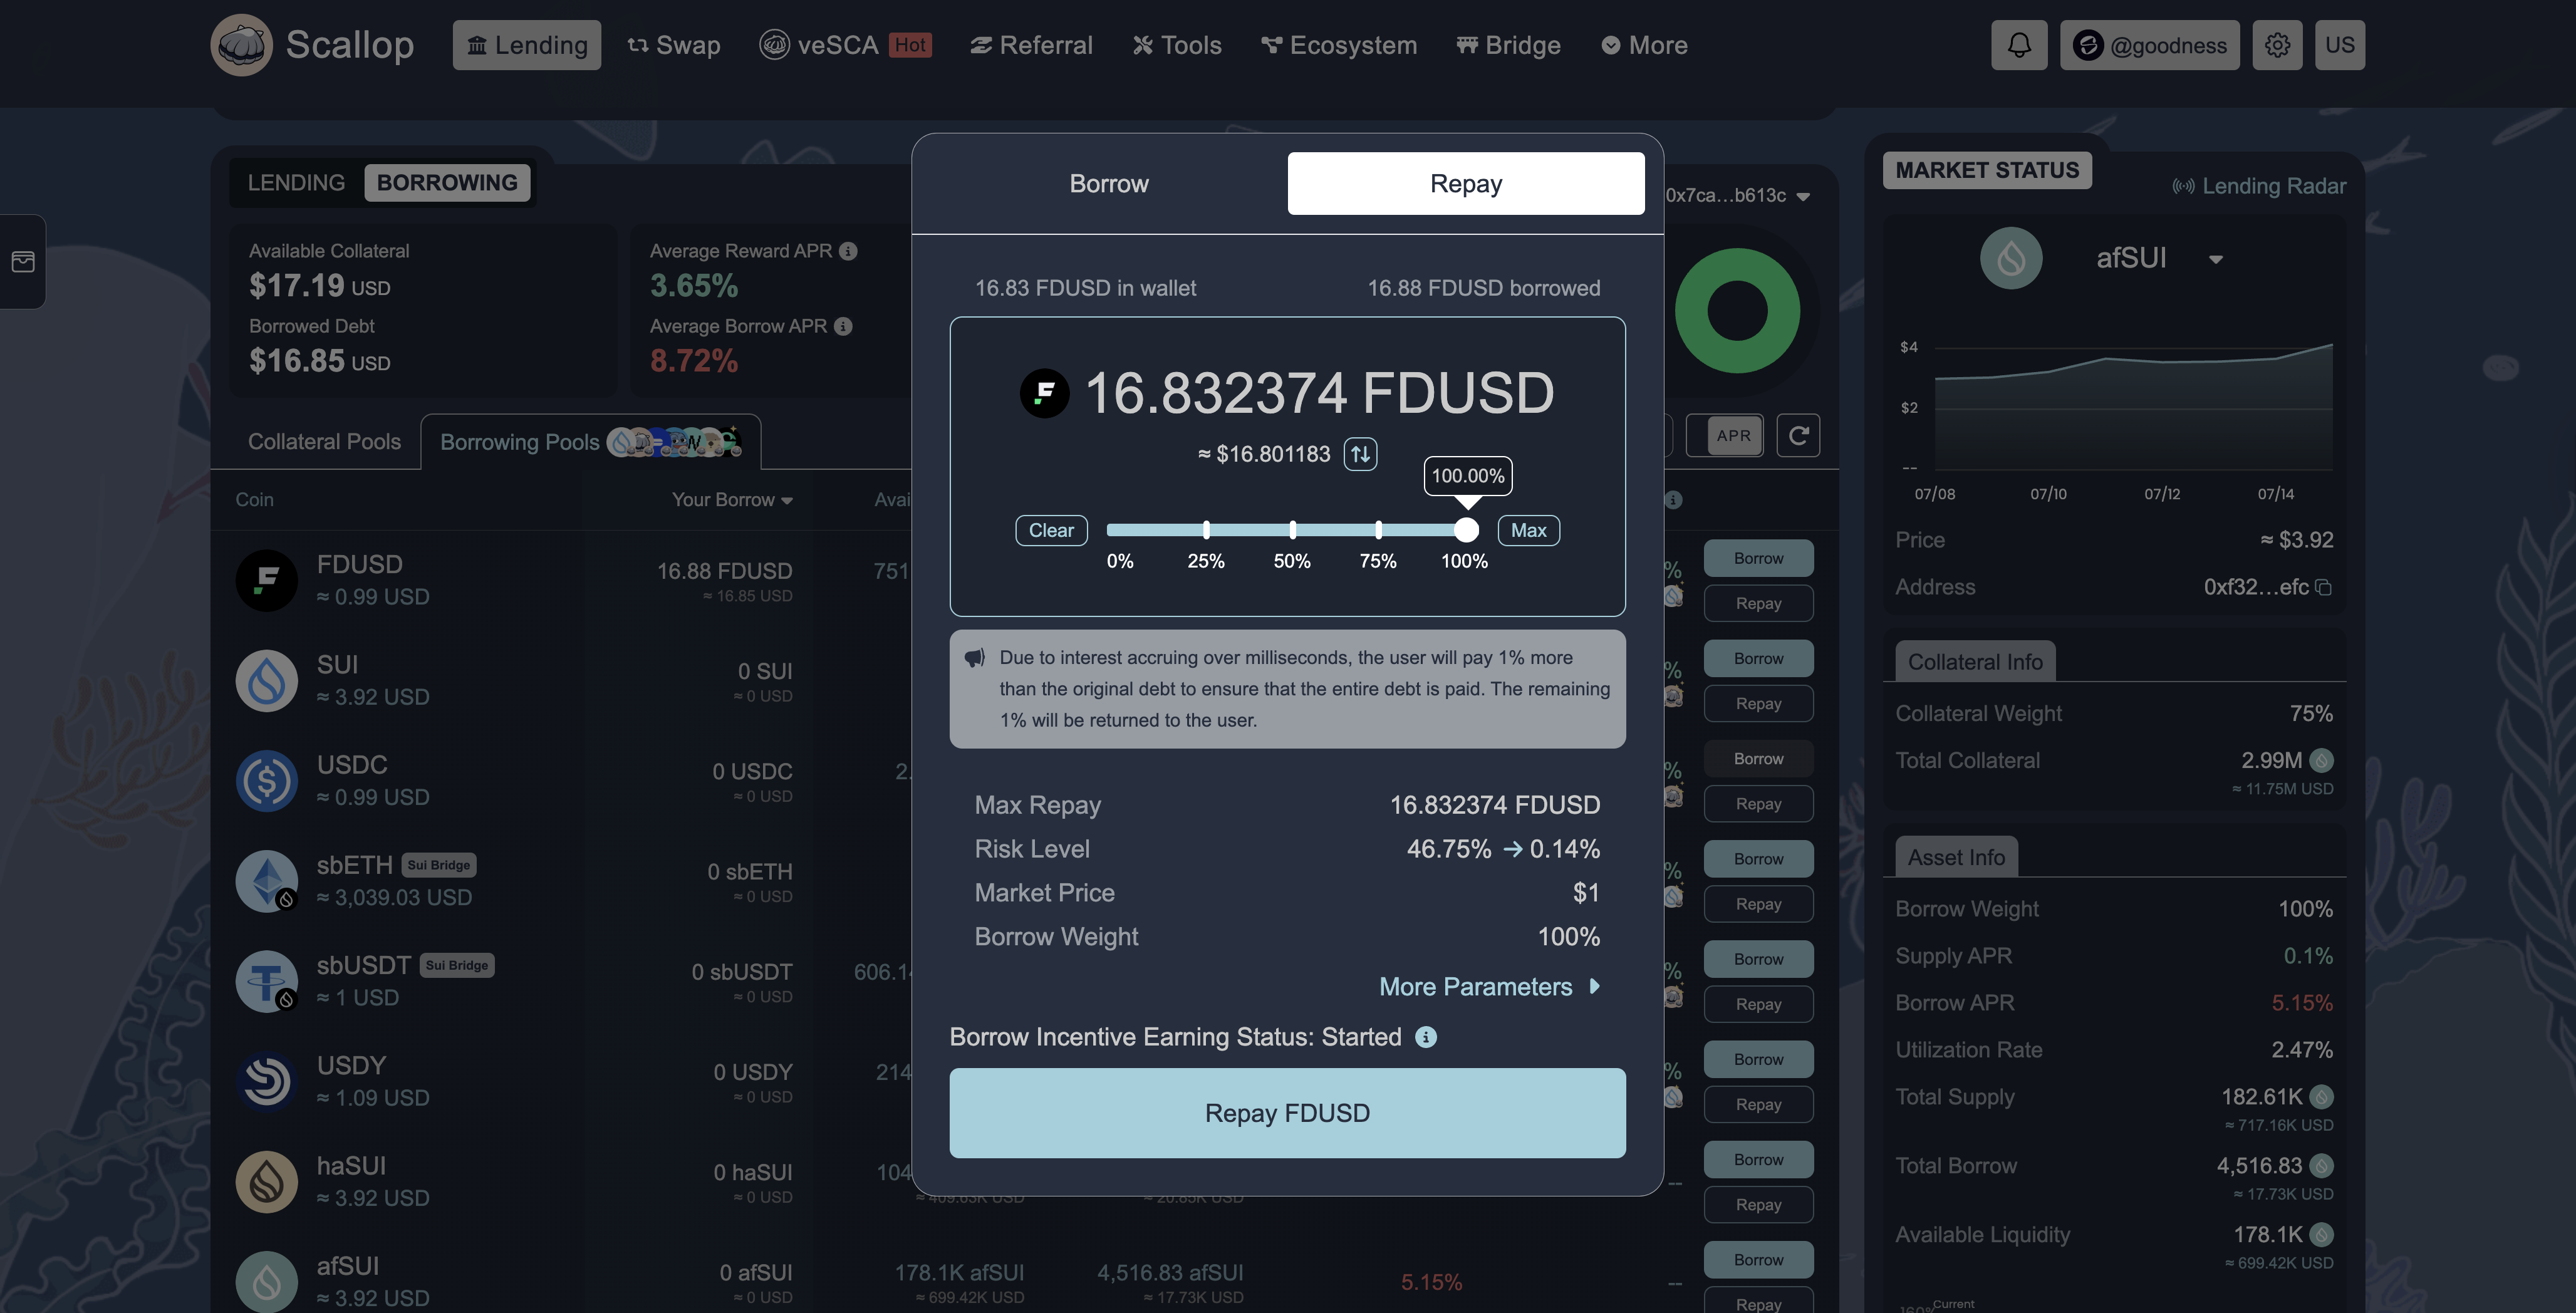
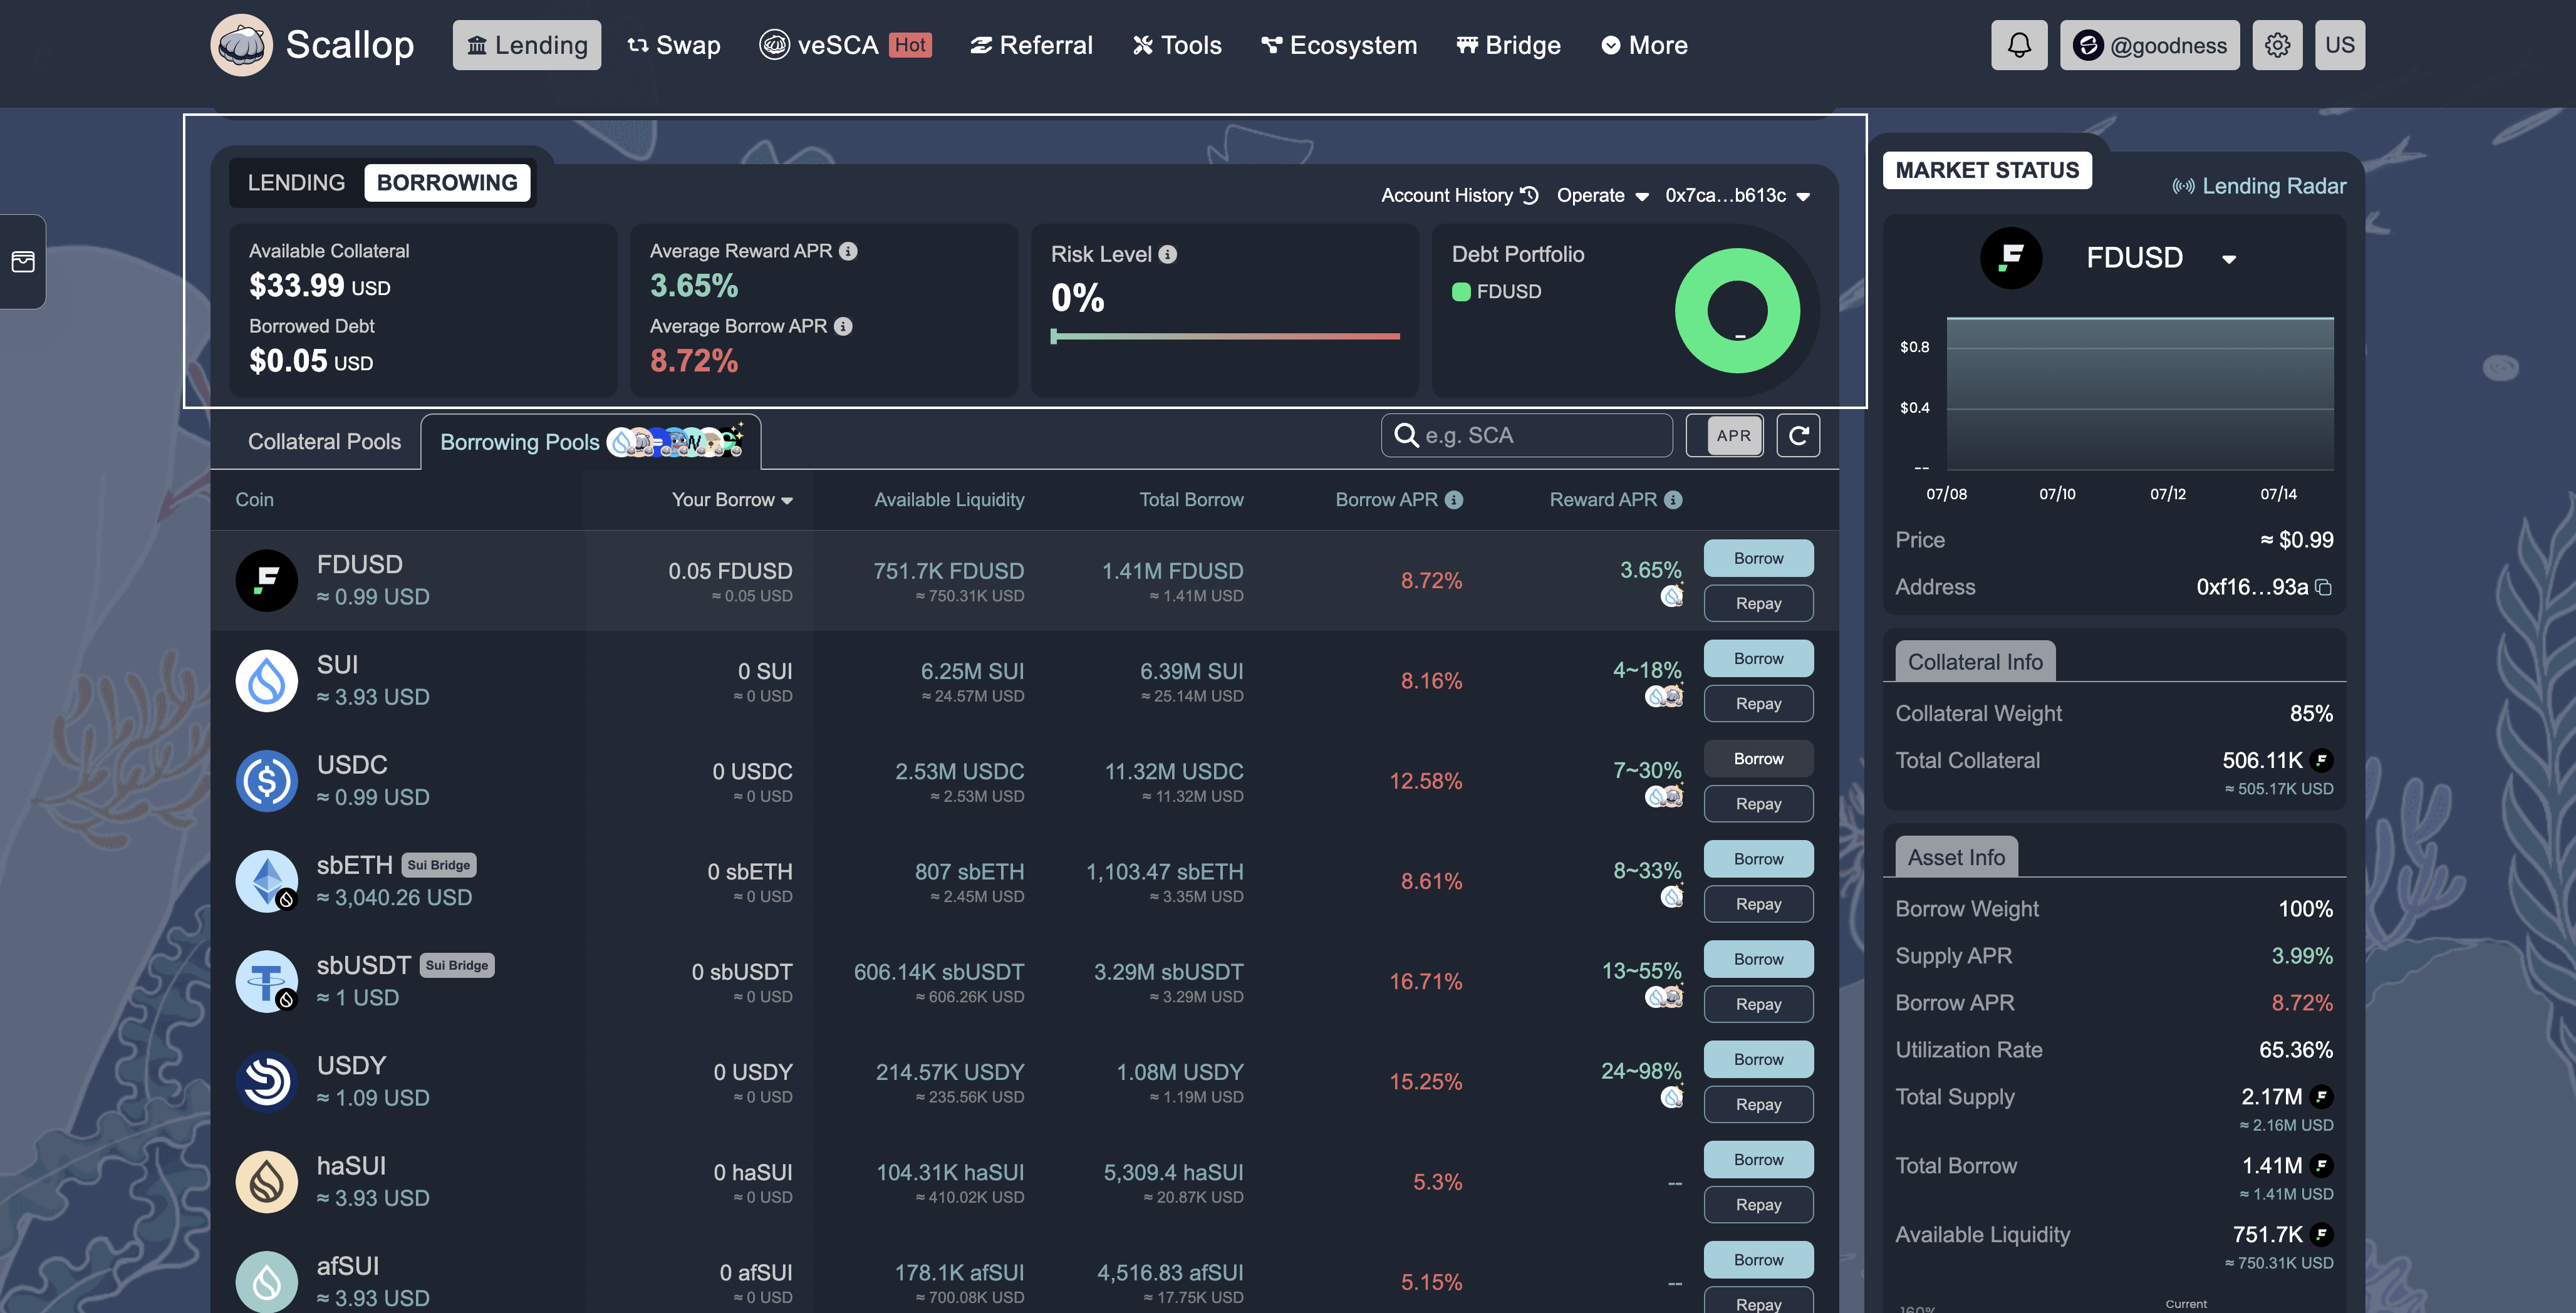
View your Lending & Borrowing Status
You can view your lending and borrowing status and overview from the top section on Scallop. You’ll get a complete overview of how you’re fairing.