As a liquidity provider, you earn a share of trading fees every time someone swaps tokens in your pool.
How Providing Liquidity Works
You’ll need two tokens to provide liquidity When you add these tokens to a liquidity pool (like on Aftermath or Momentum), you’re basically “depositing” them so other people can swap between them anytime. The amount of each token depends on the AMM type. Some allow you to specify the amount the ratio of tokens you want to provide and others would specify. For example, if you want to provide liquidity to a SUI/USDC pool and SUI is worth £1, you might deposit £500 worth of SUI and £500 worth of USDC in a 50/50 pool.Providing Liquidity on V2 AMMs
On V2 AMMs, all you need to do is add the tokens to the pool and start earning. In this case, we will use Aftermath: an advanced V2 AMM on the Sui blockchain.V2 AMMs are simpler but less capital efficient than V3. Your liquidity is spread across all price ranges.
Visit the AMM
First visit the AMM website. In this case, visit https://aftermath.finance/ and login or connect your wallet.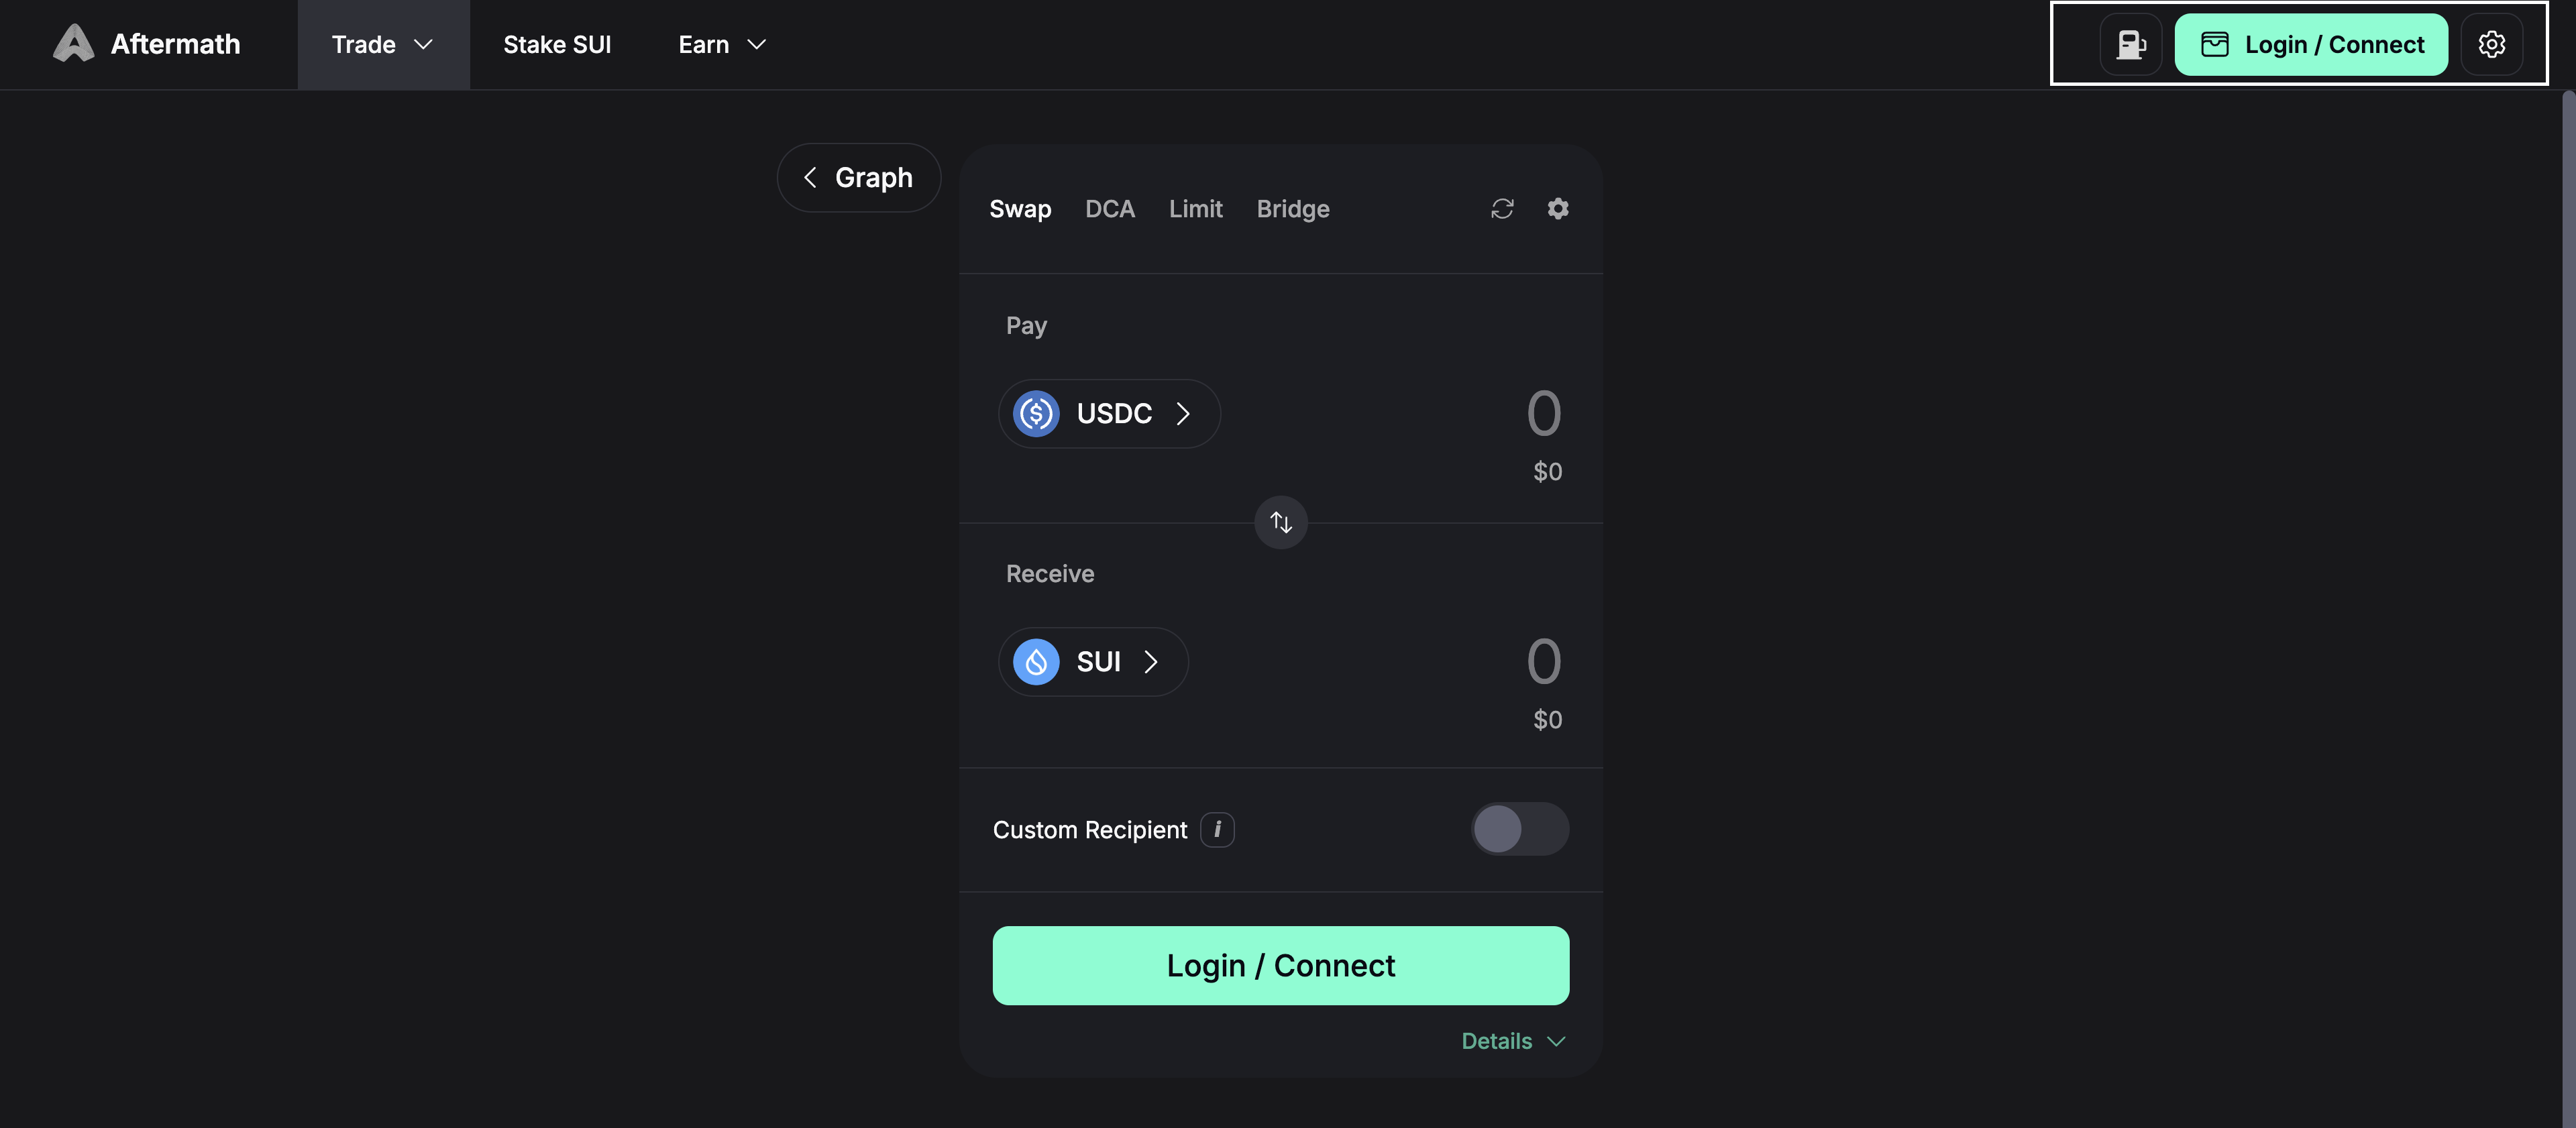
Visit the Pools Page
After connecting your wallet, Toggle the earn tab and head to the Pools page where you will be adding liquidity.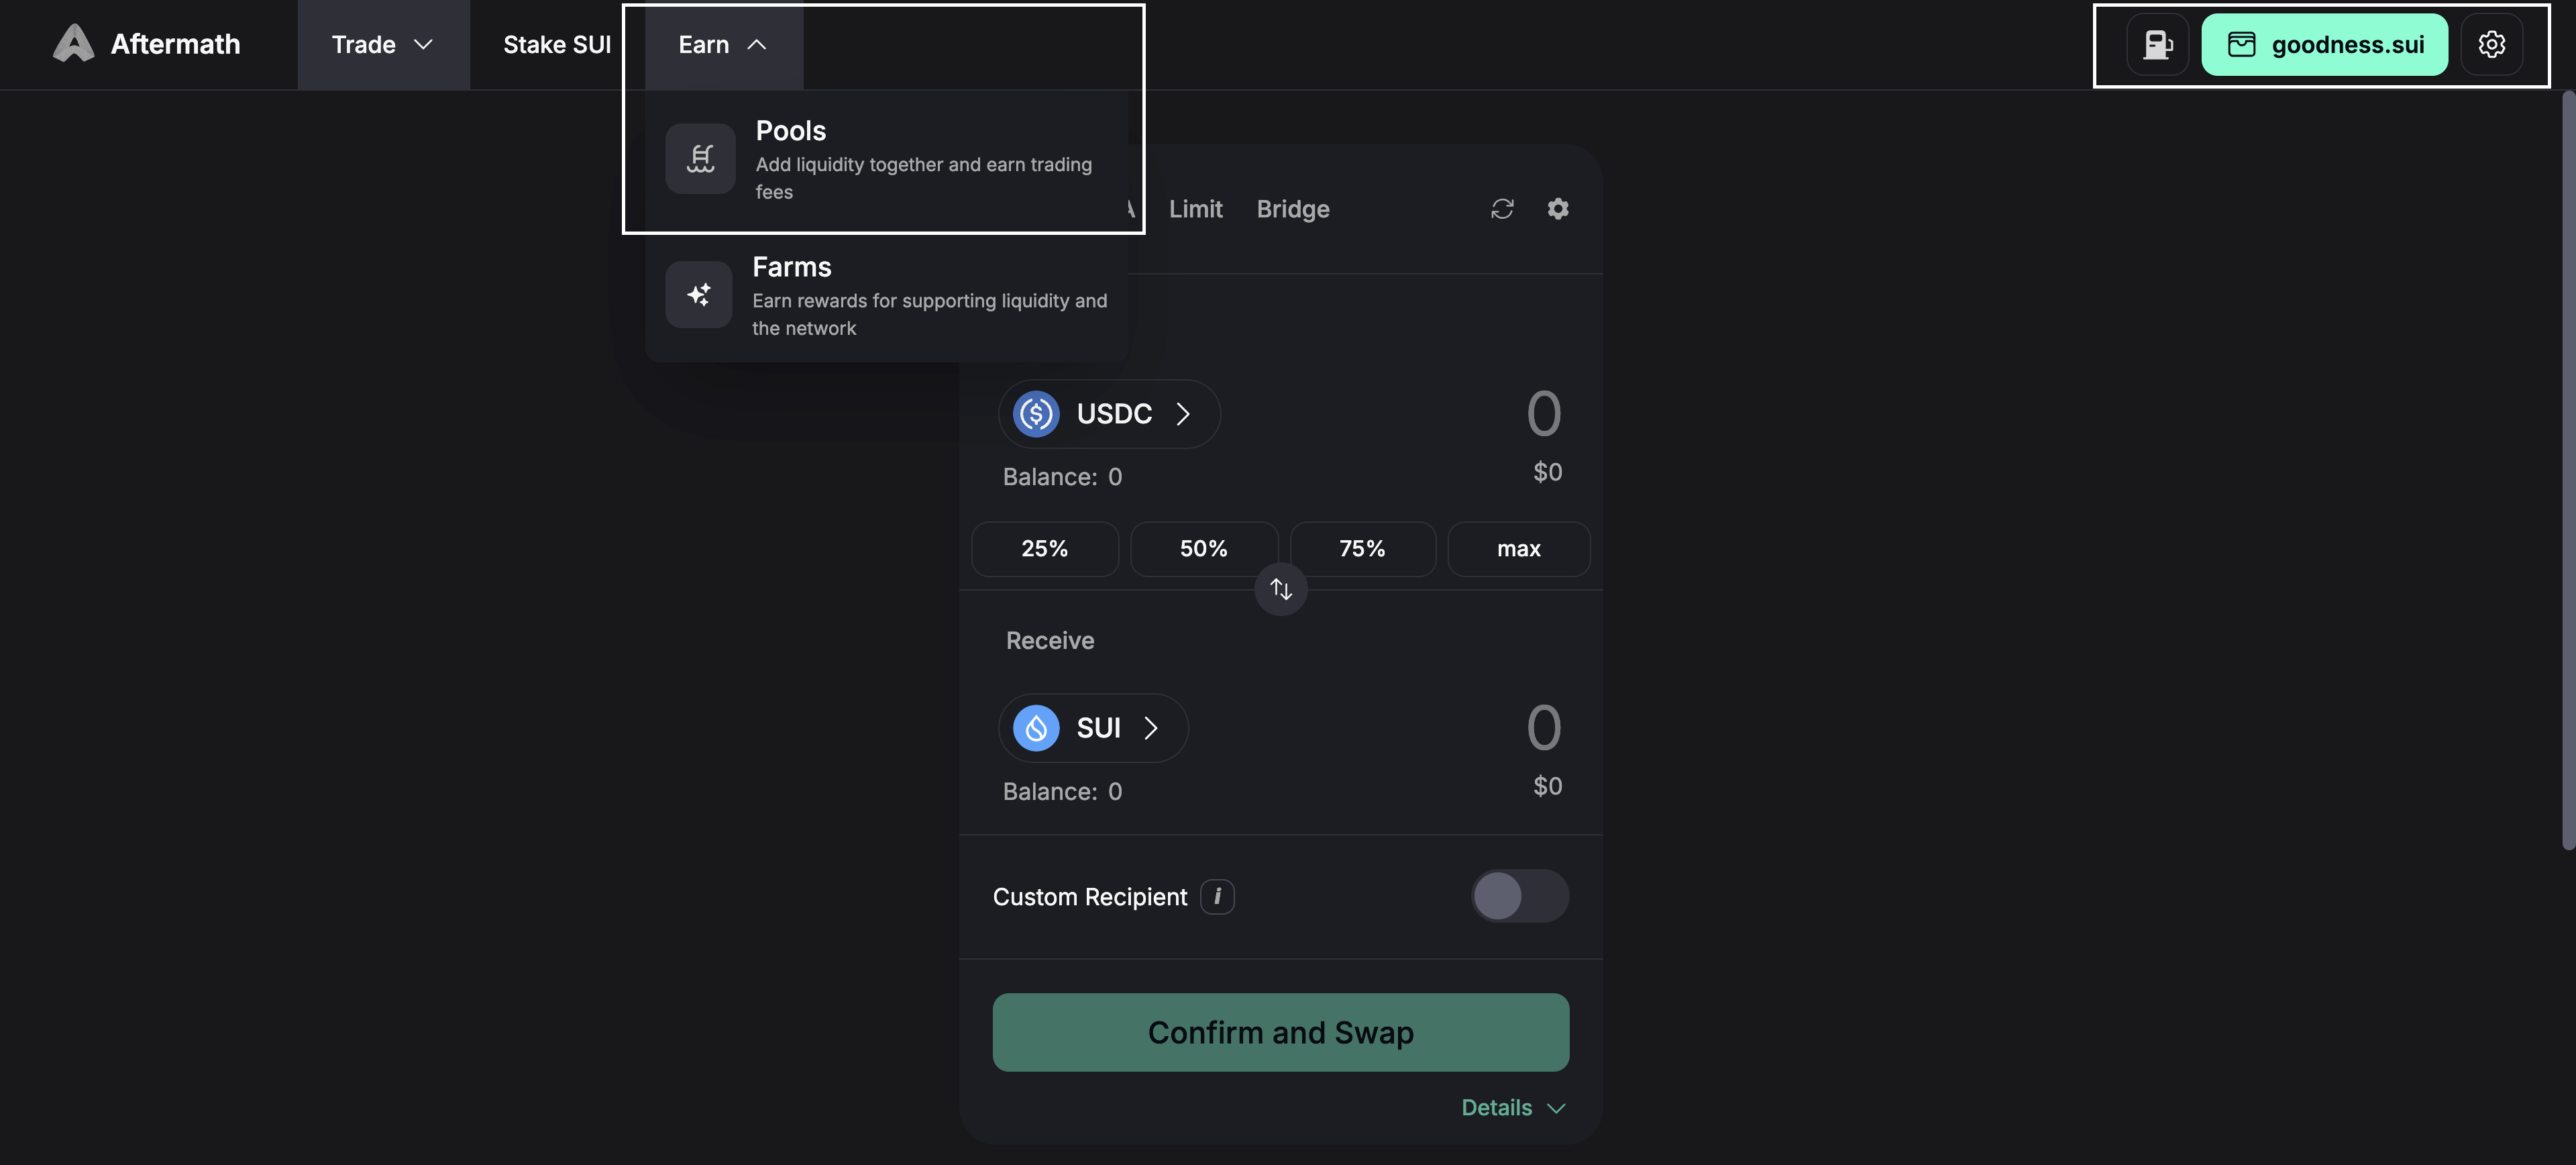
Select a Pool
On the Pools page, you’ll find a lot of pools. You can even create your own pools. Now select the pool you want to add liquidity.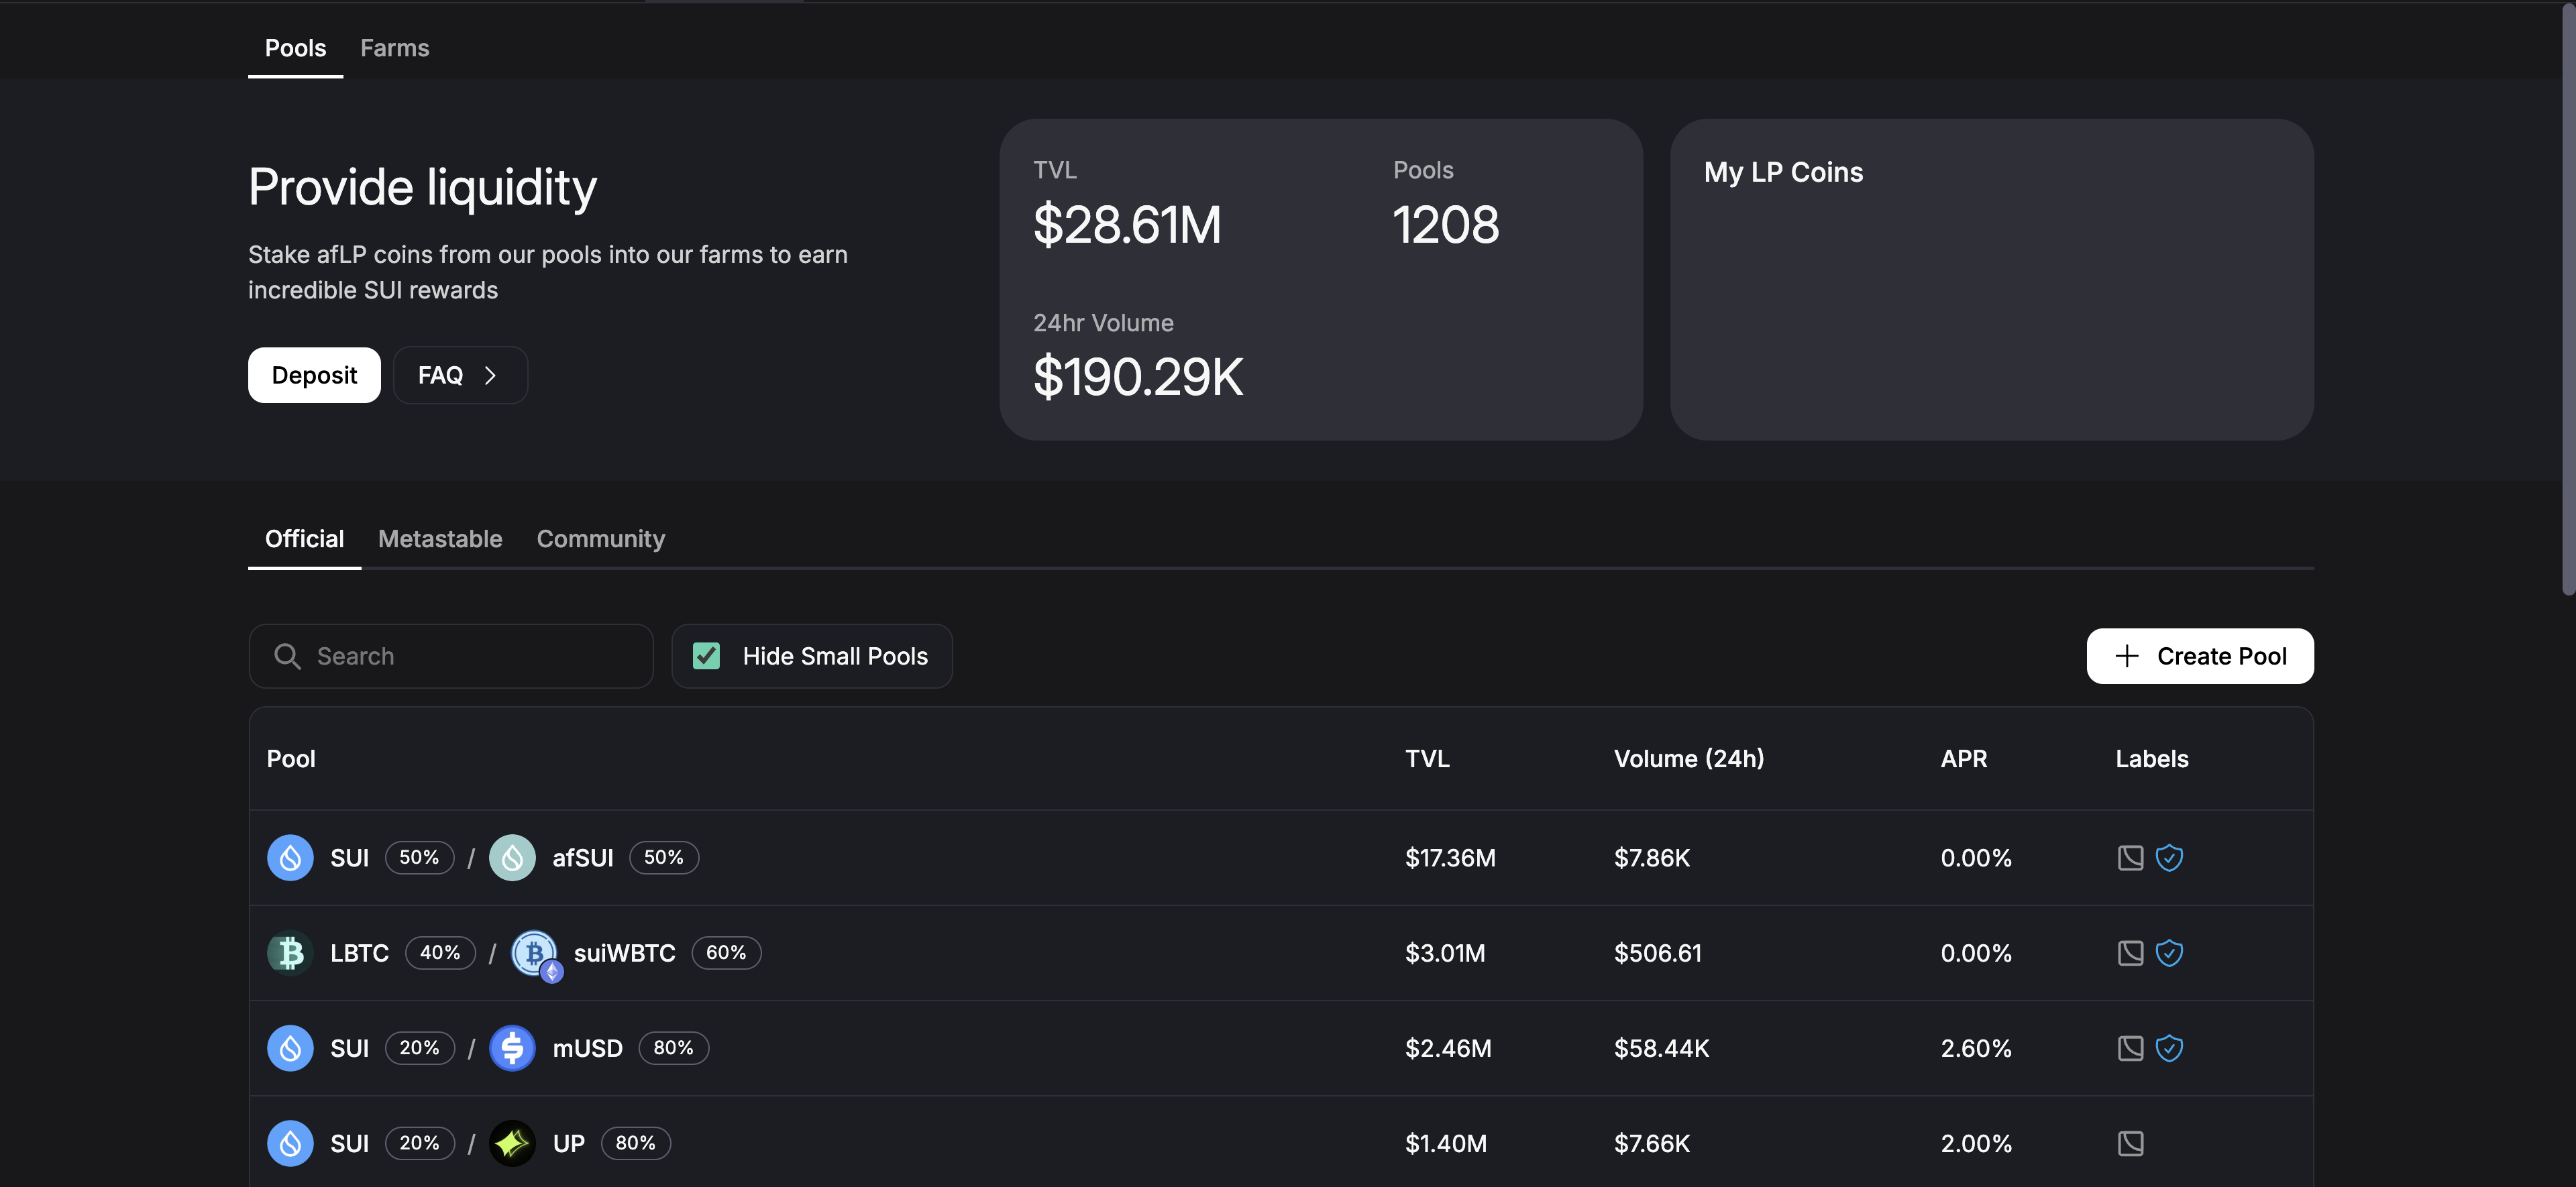
Add Liquidity to the Pool
Confirm that the APR and TVL are satisfactory. Then, enter the tokens you’re adding to the pool, configure slippage as you deem fit, and confirm the transaction.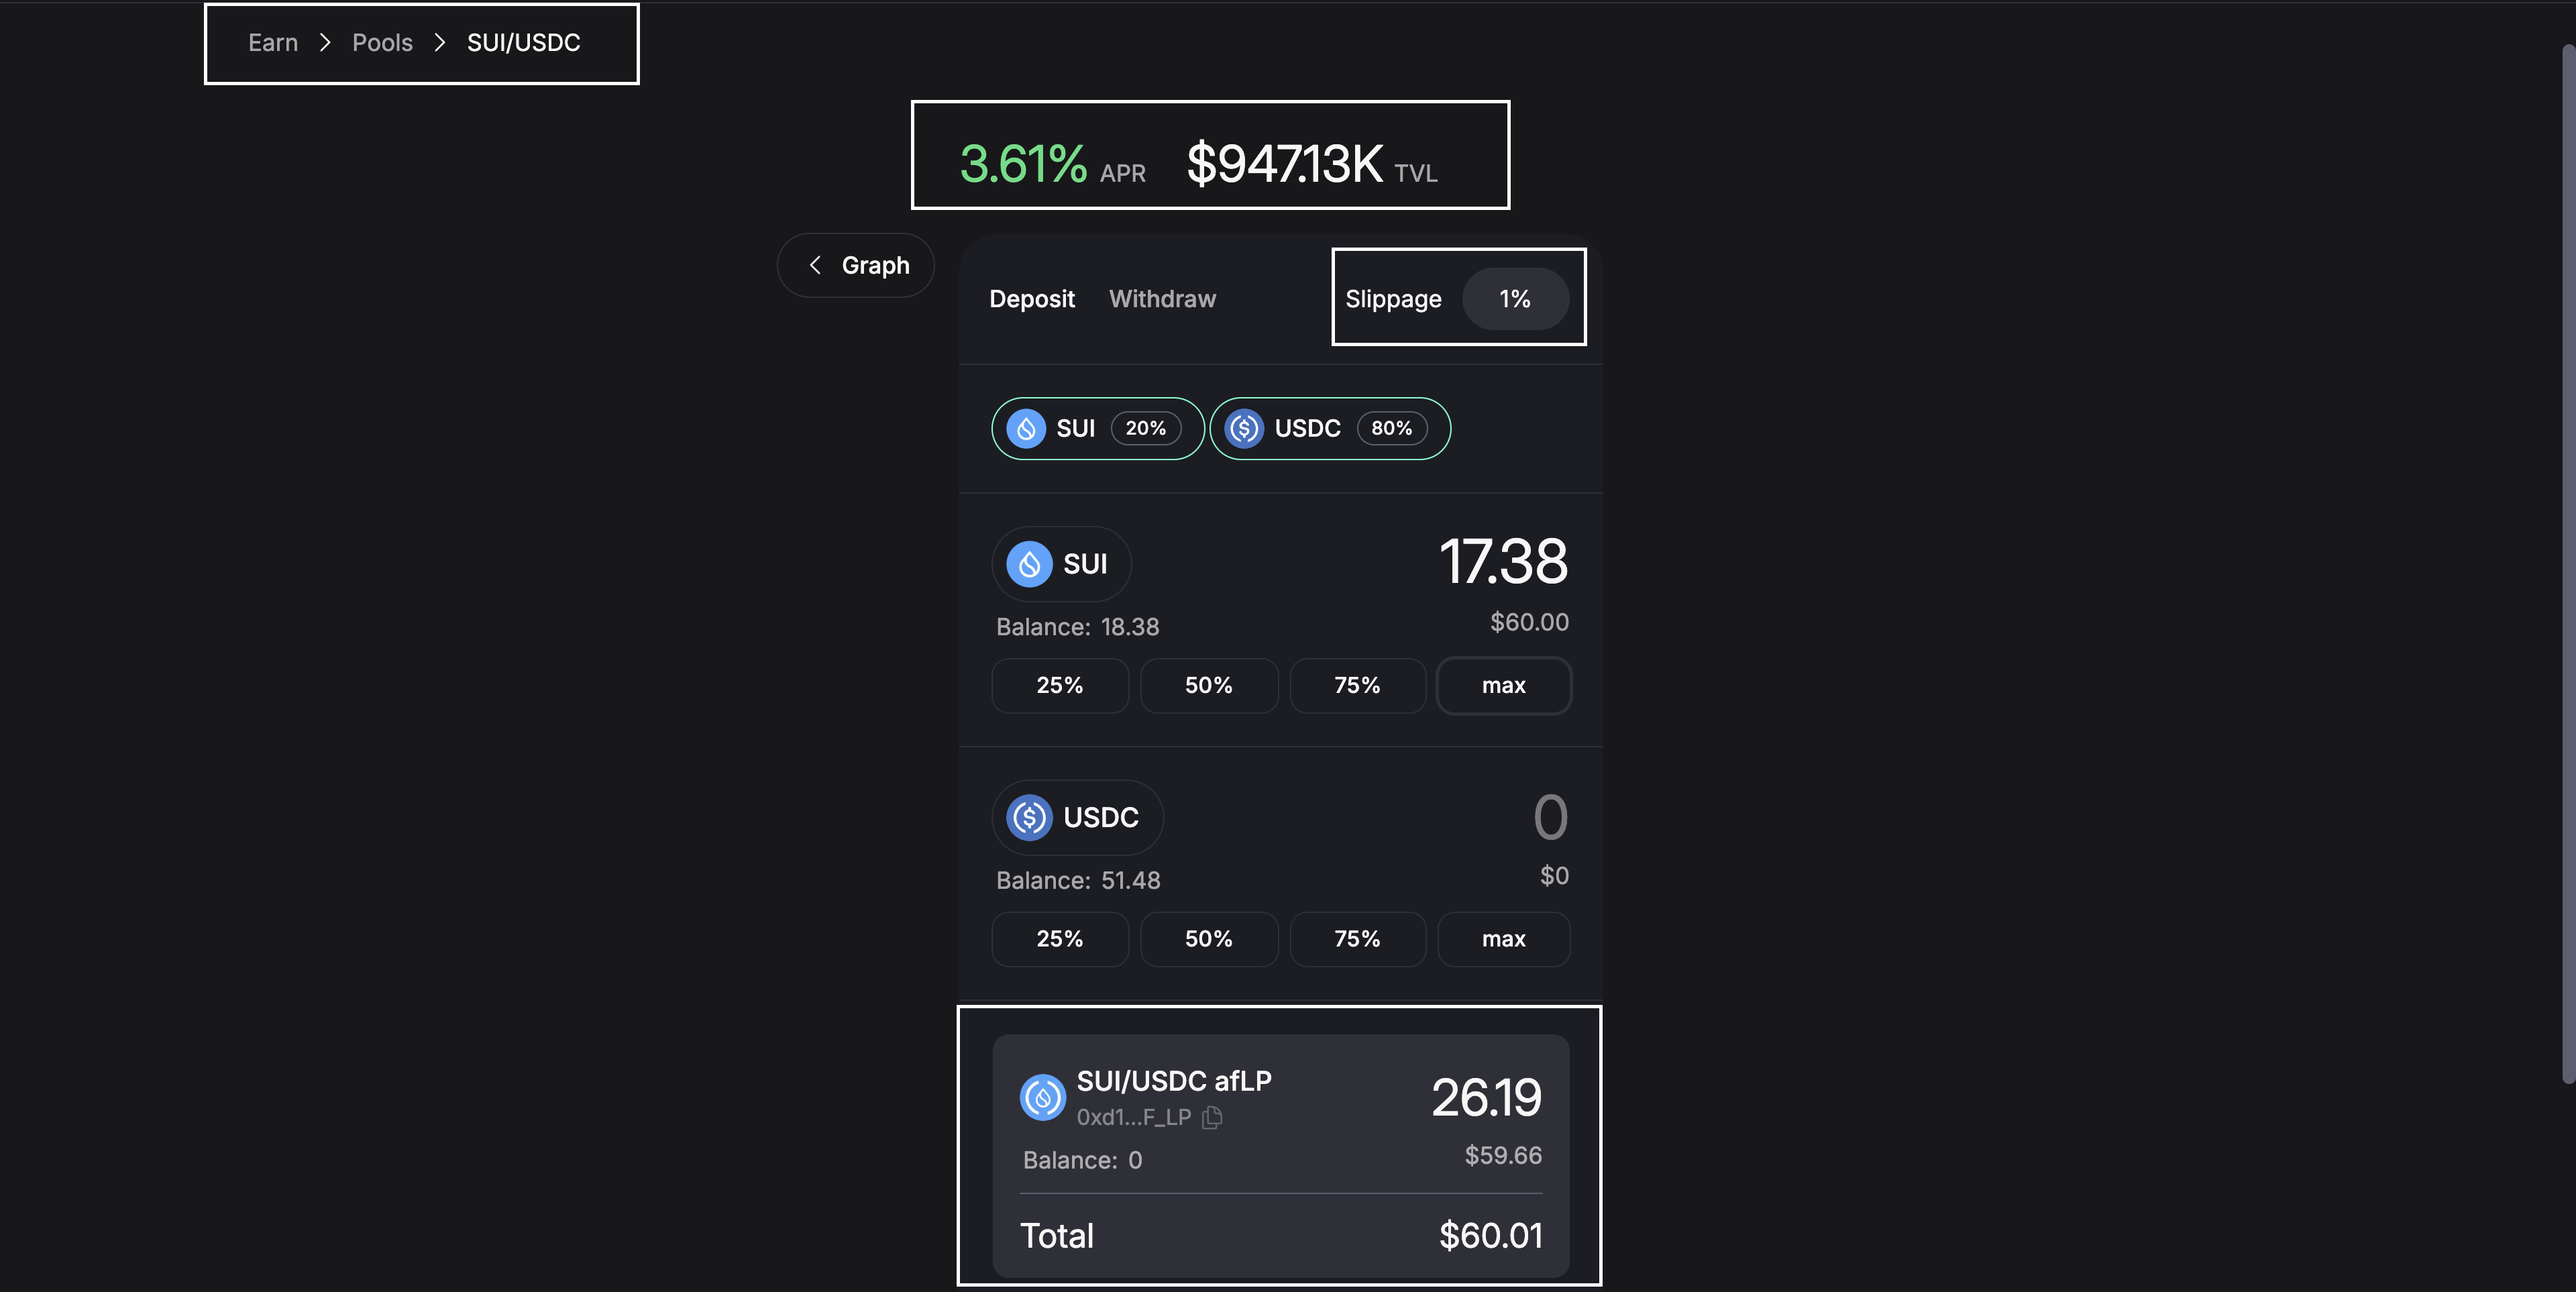
Review & Confirm the Transaction
Review the transaction details, and, if you’re satisfied with the output, proceed.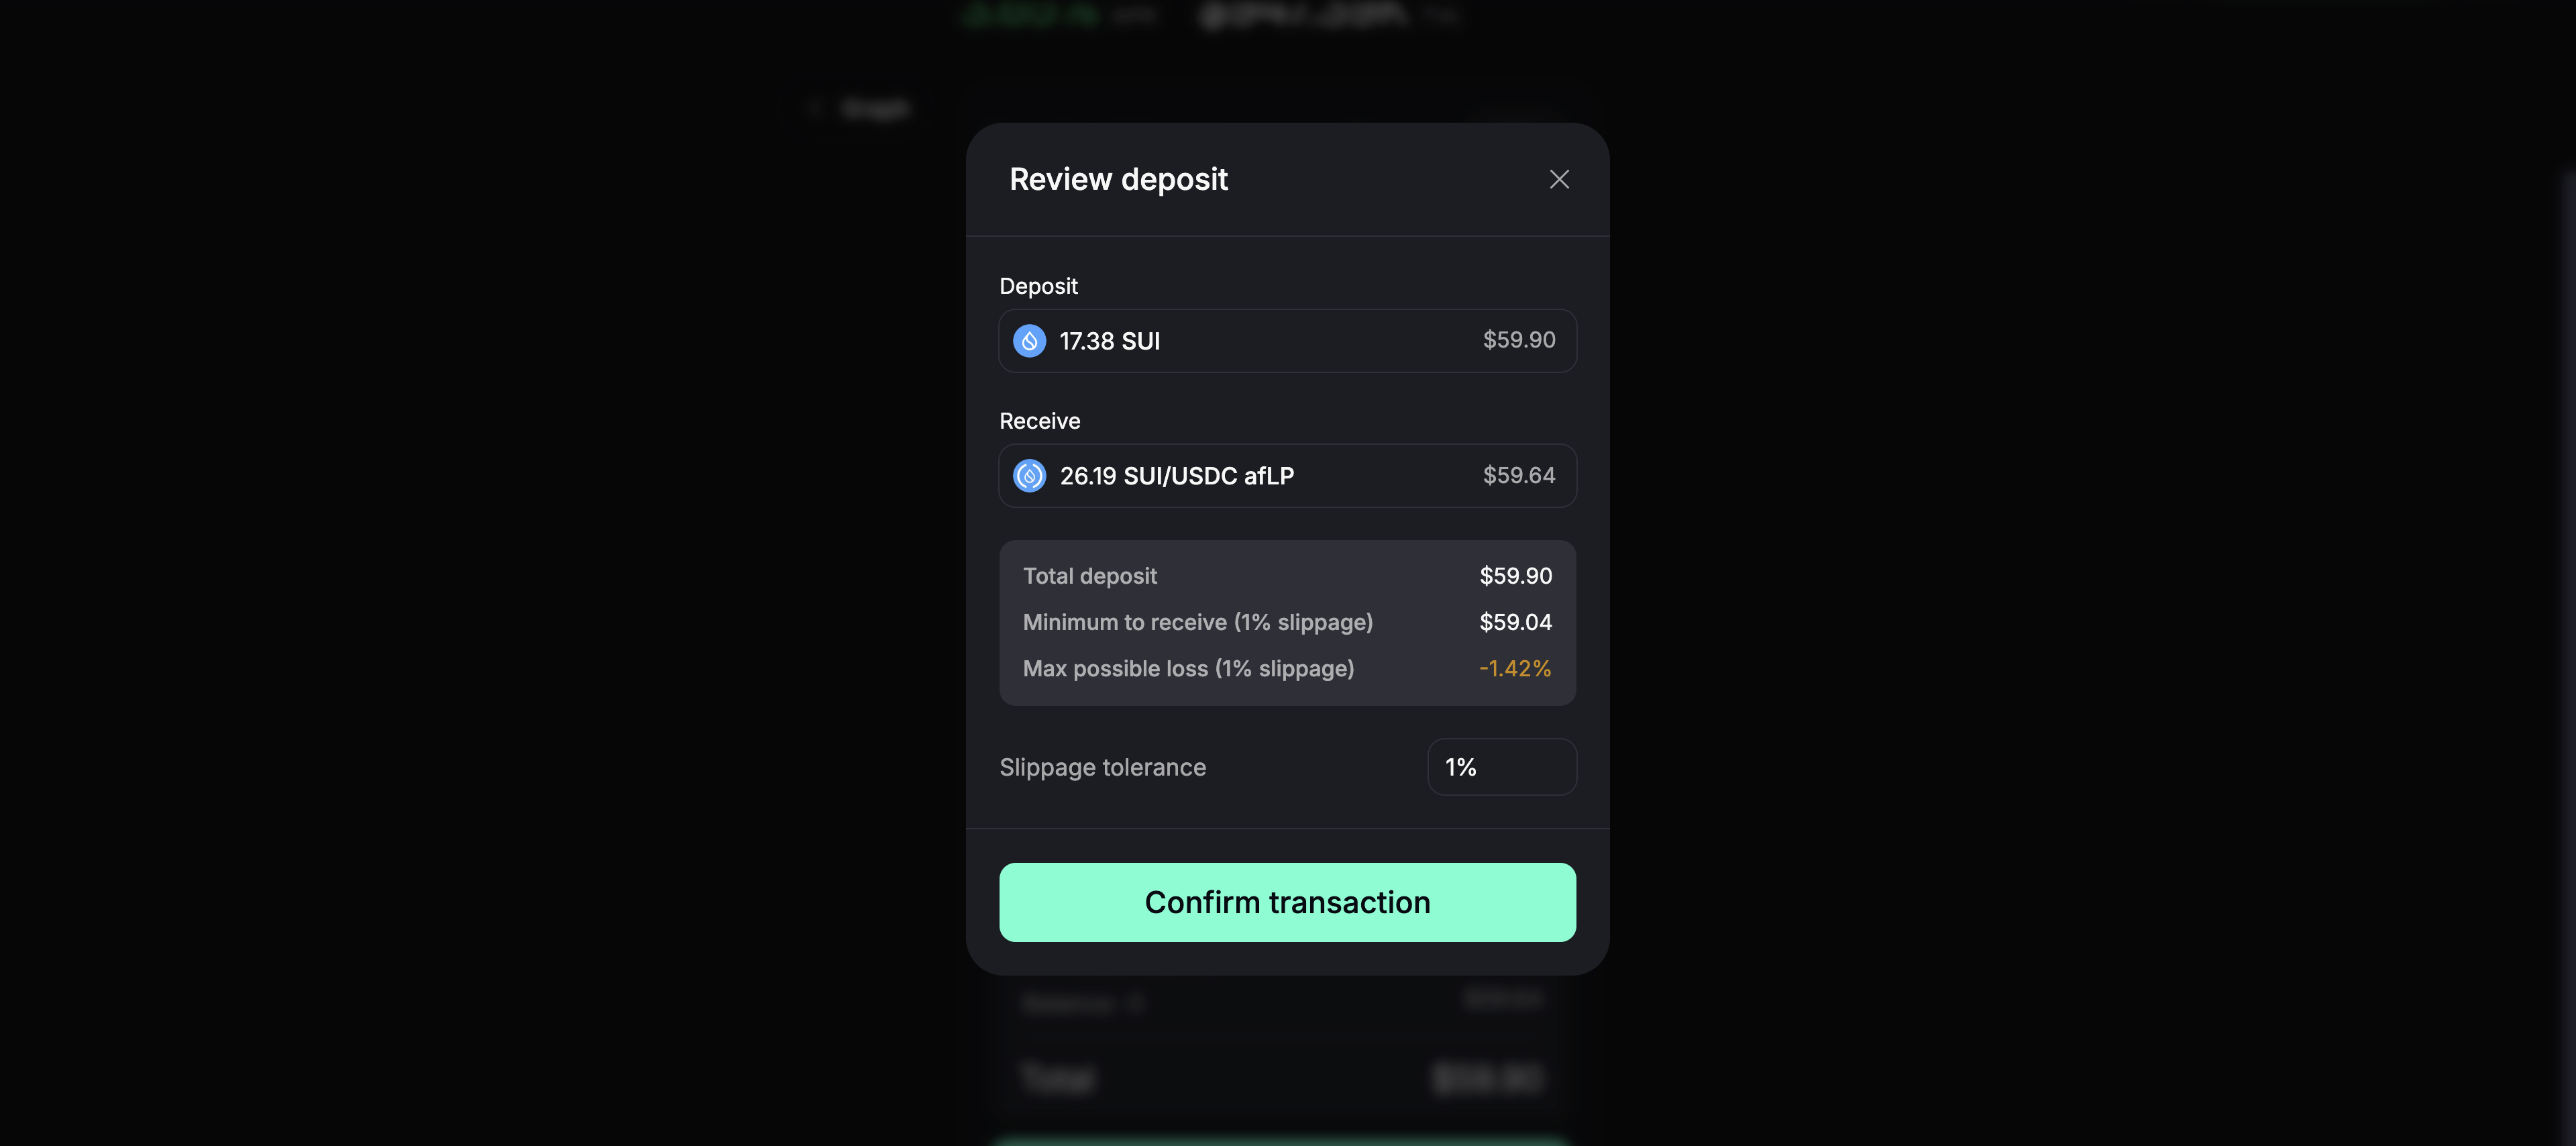
You can Always Withdraw
After depositing into the pool, you can always withdraw your money whenever you want.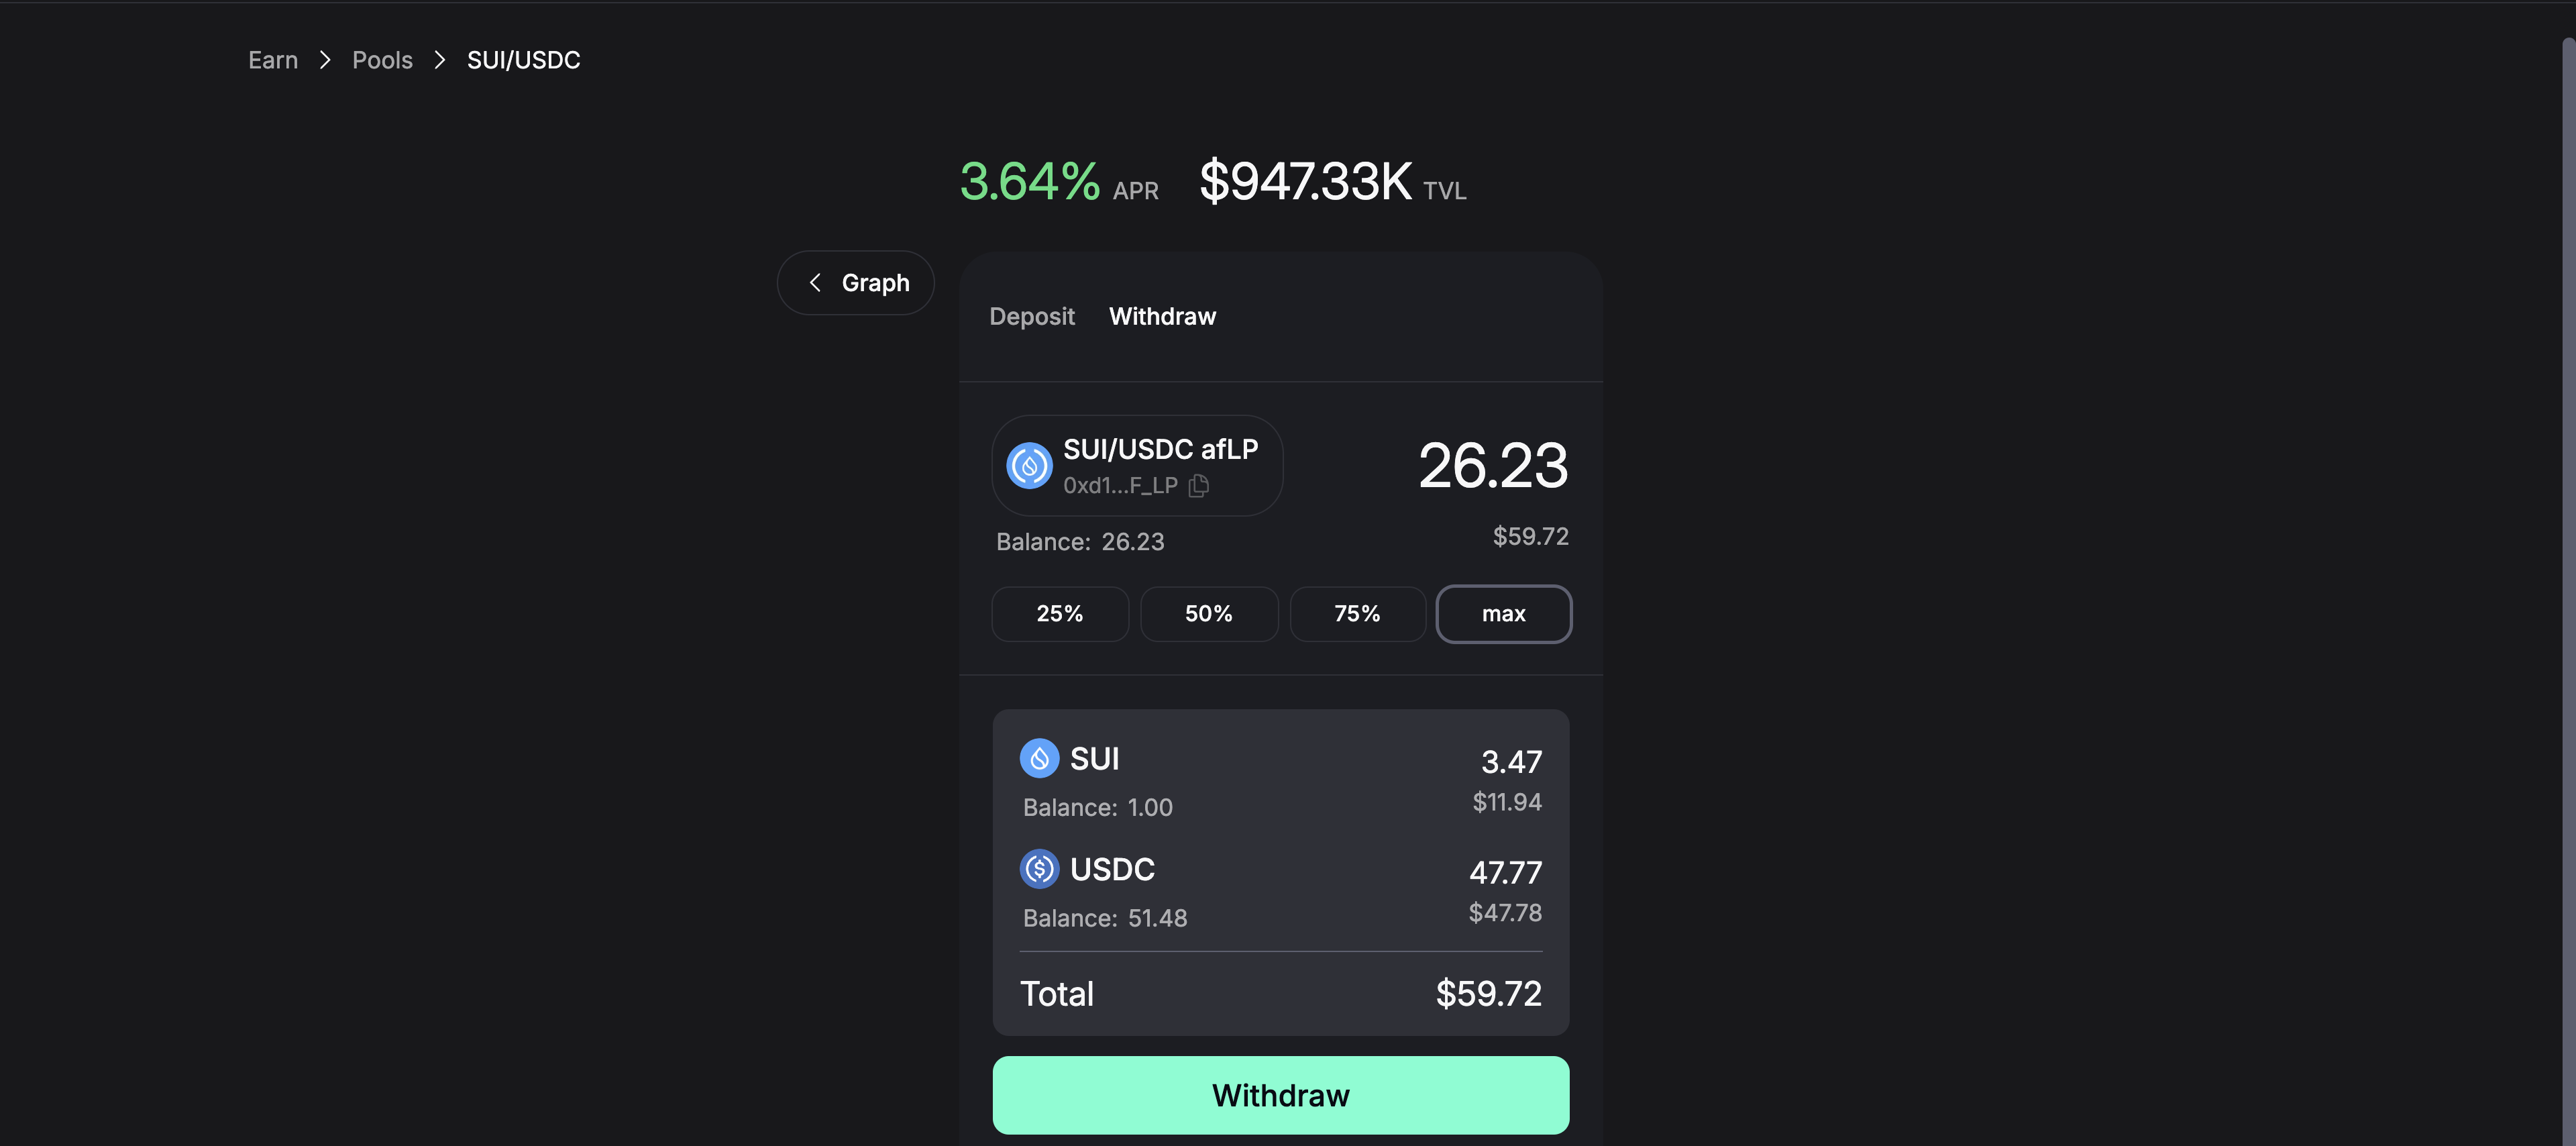
Providing Liquidity on V3 AMMs
The primary difference between providing liquidity on V3 compared to V2 is that you specify a price range for your liquidity.Visit the V3 AMM
First Visit the V3 AMM. In this case, we will be using Momentum’s V3 AMM at mmt.finance to provide liquidity. Viit the website and connect your wallet.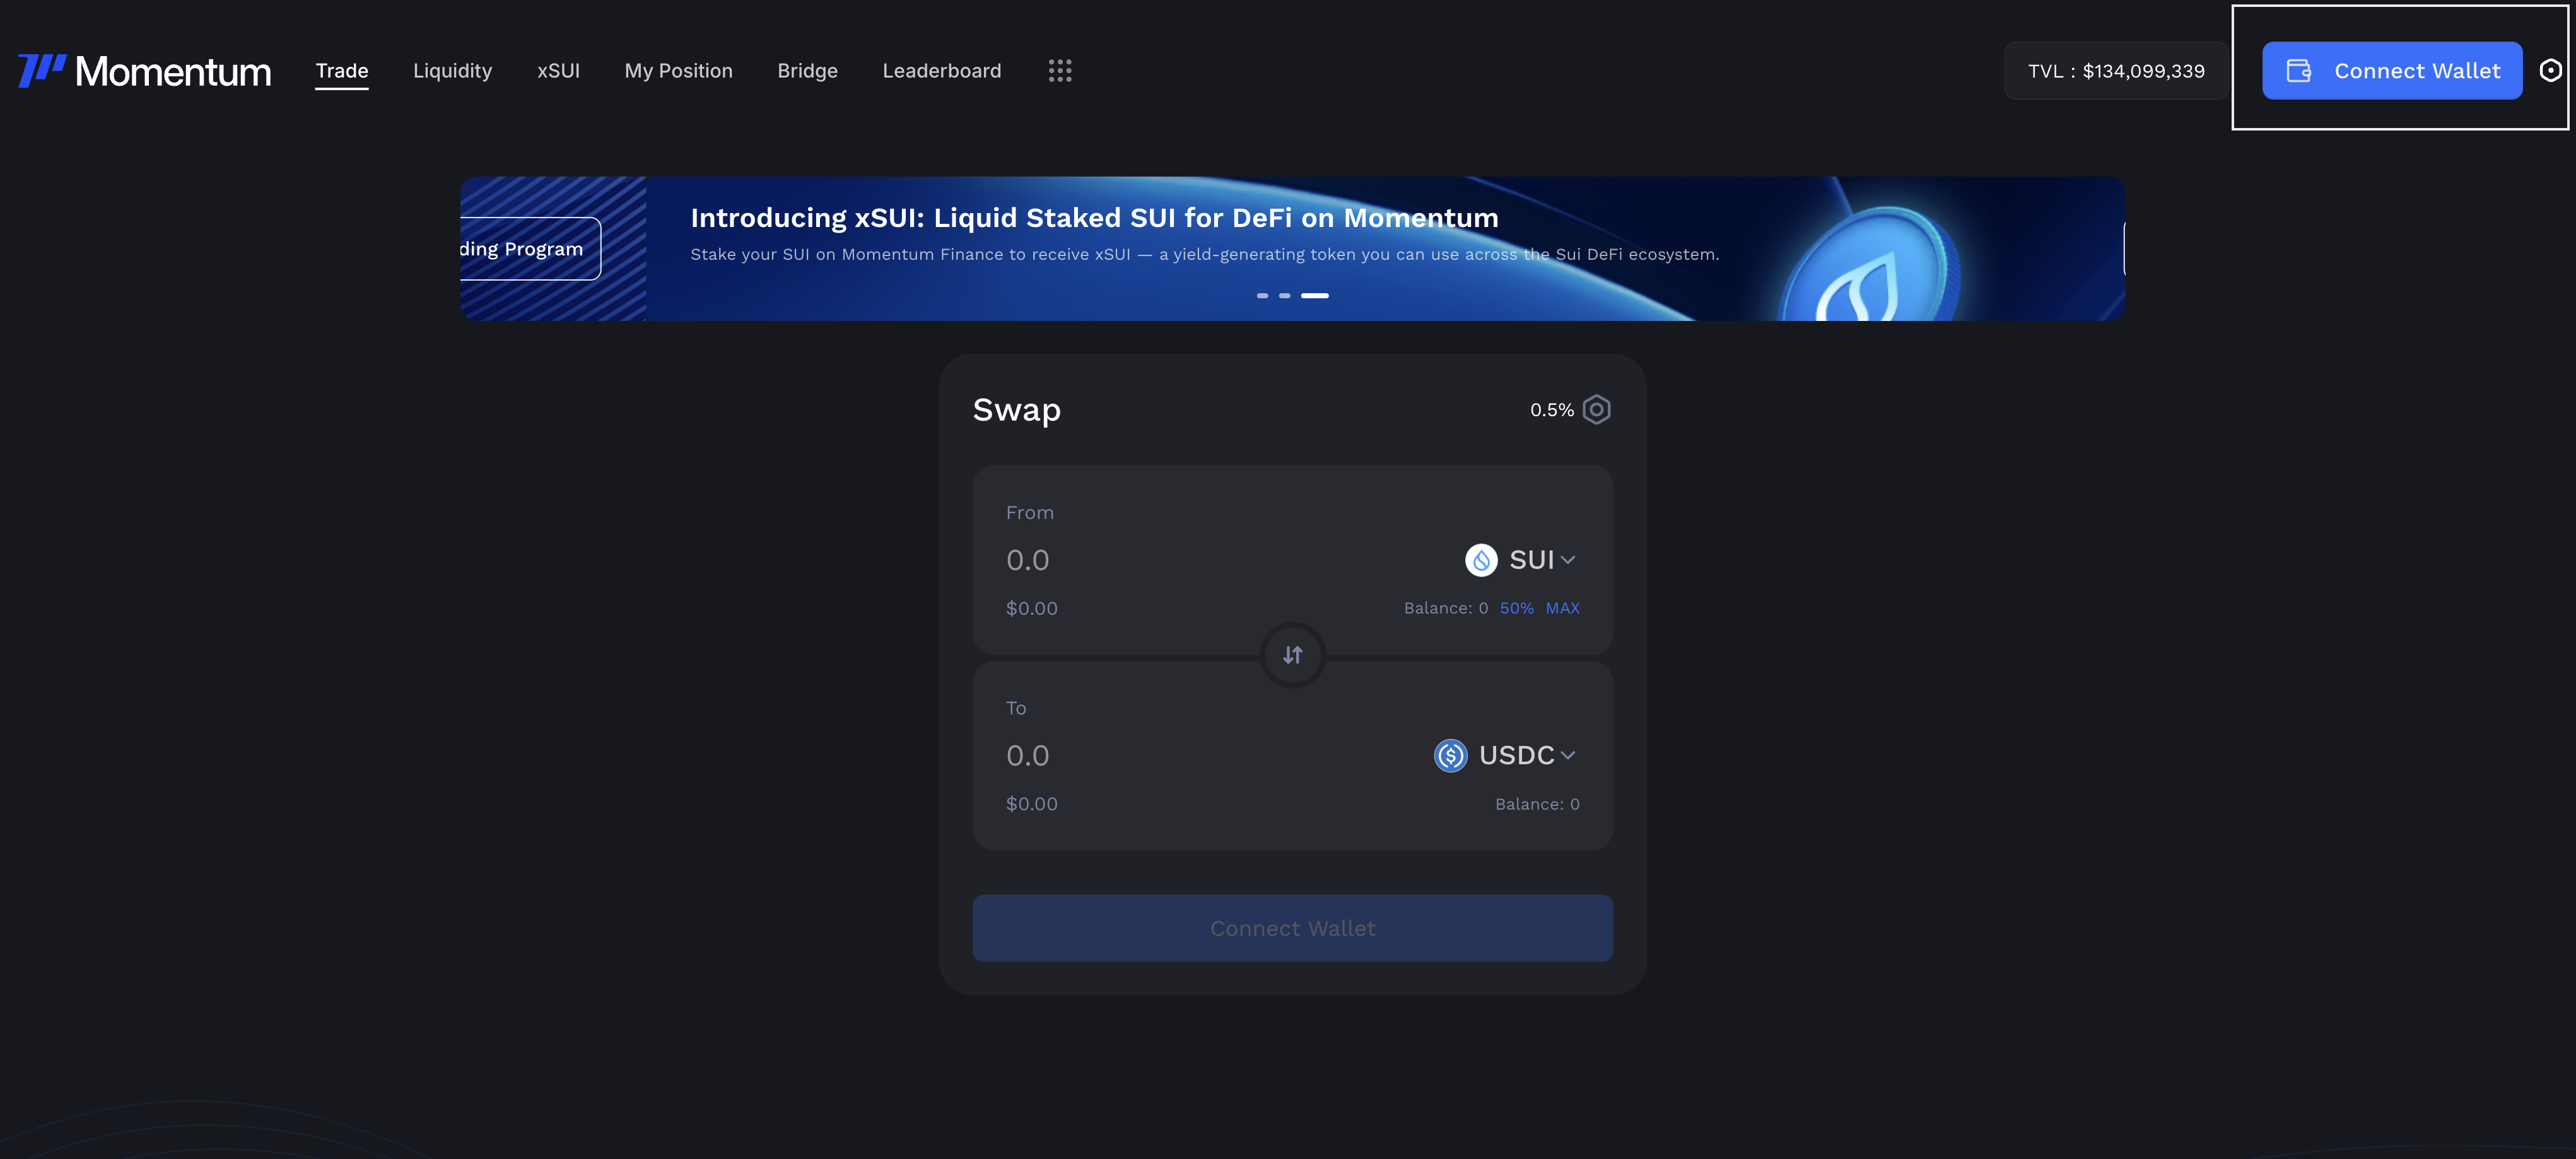
Visit the Liquidity Page
After connecting your wallet, visit the liquidity page to browse through liquidity pools.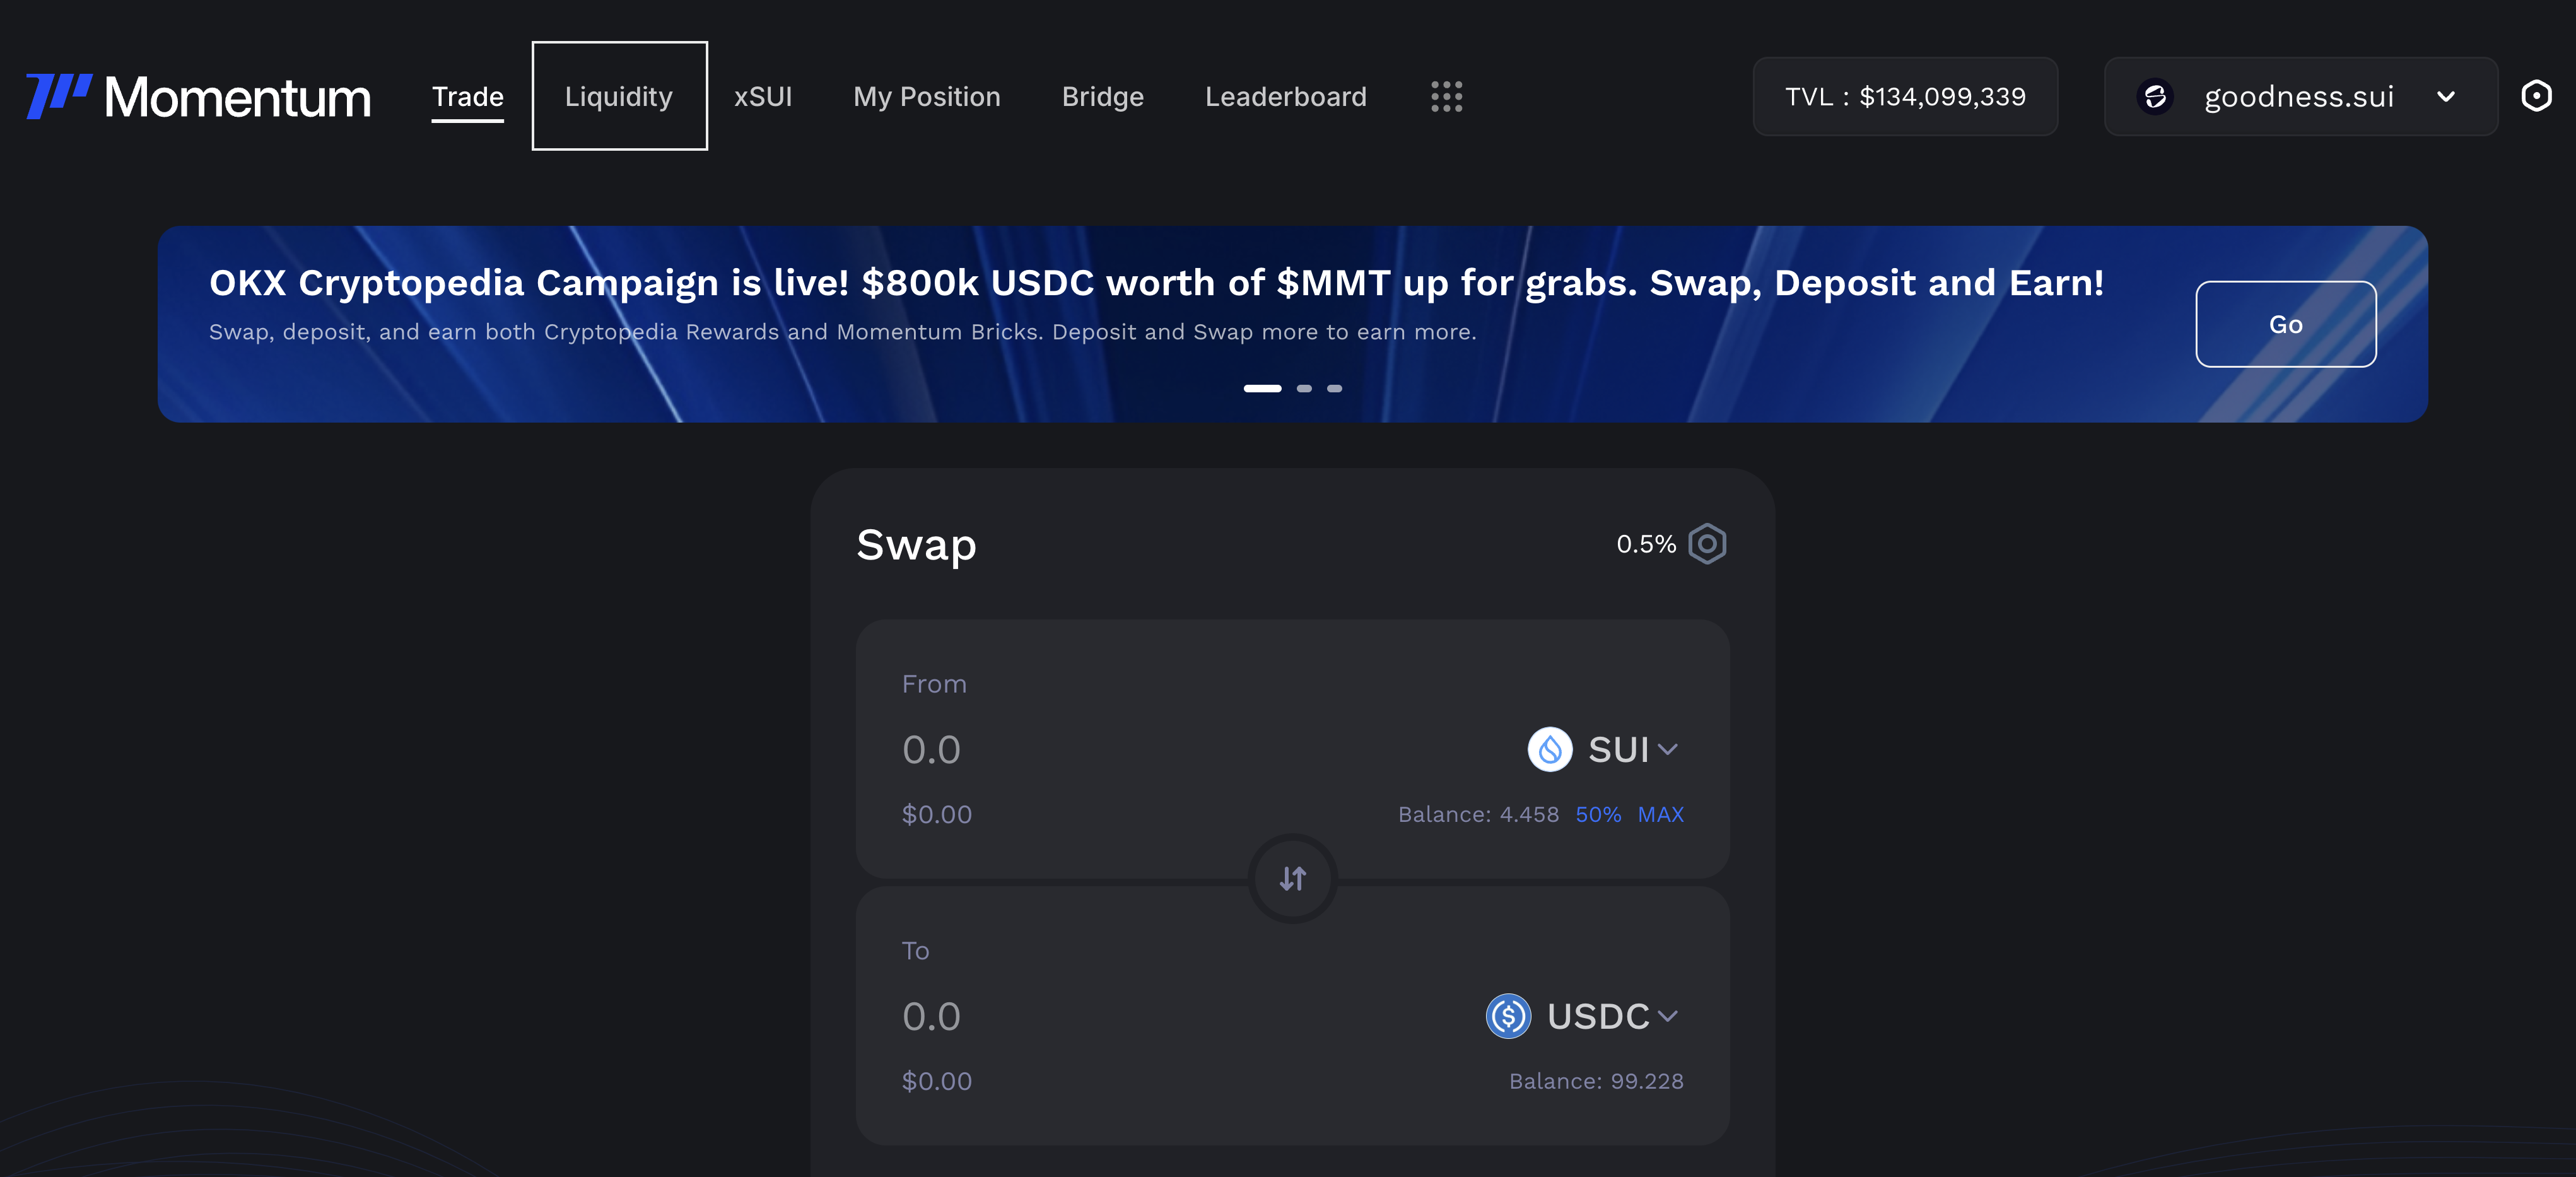
Search or Select a Pool
Search or select a liquidity pool you want to add liquidity to. In this case, I’ll add liquidity to the SUI-USDC pool.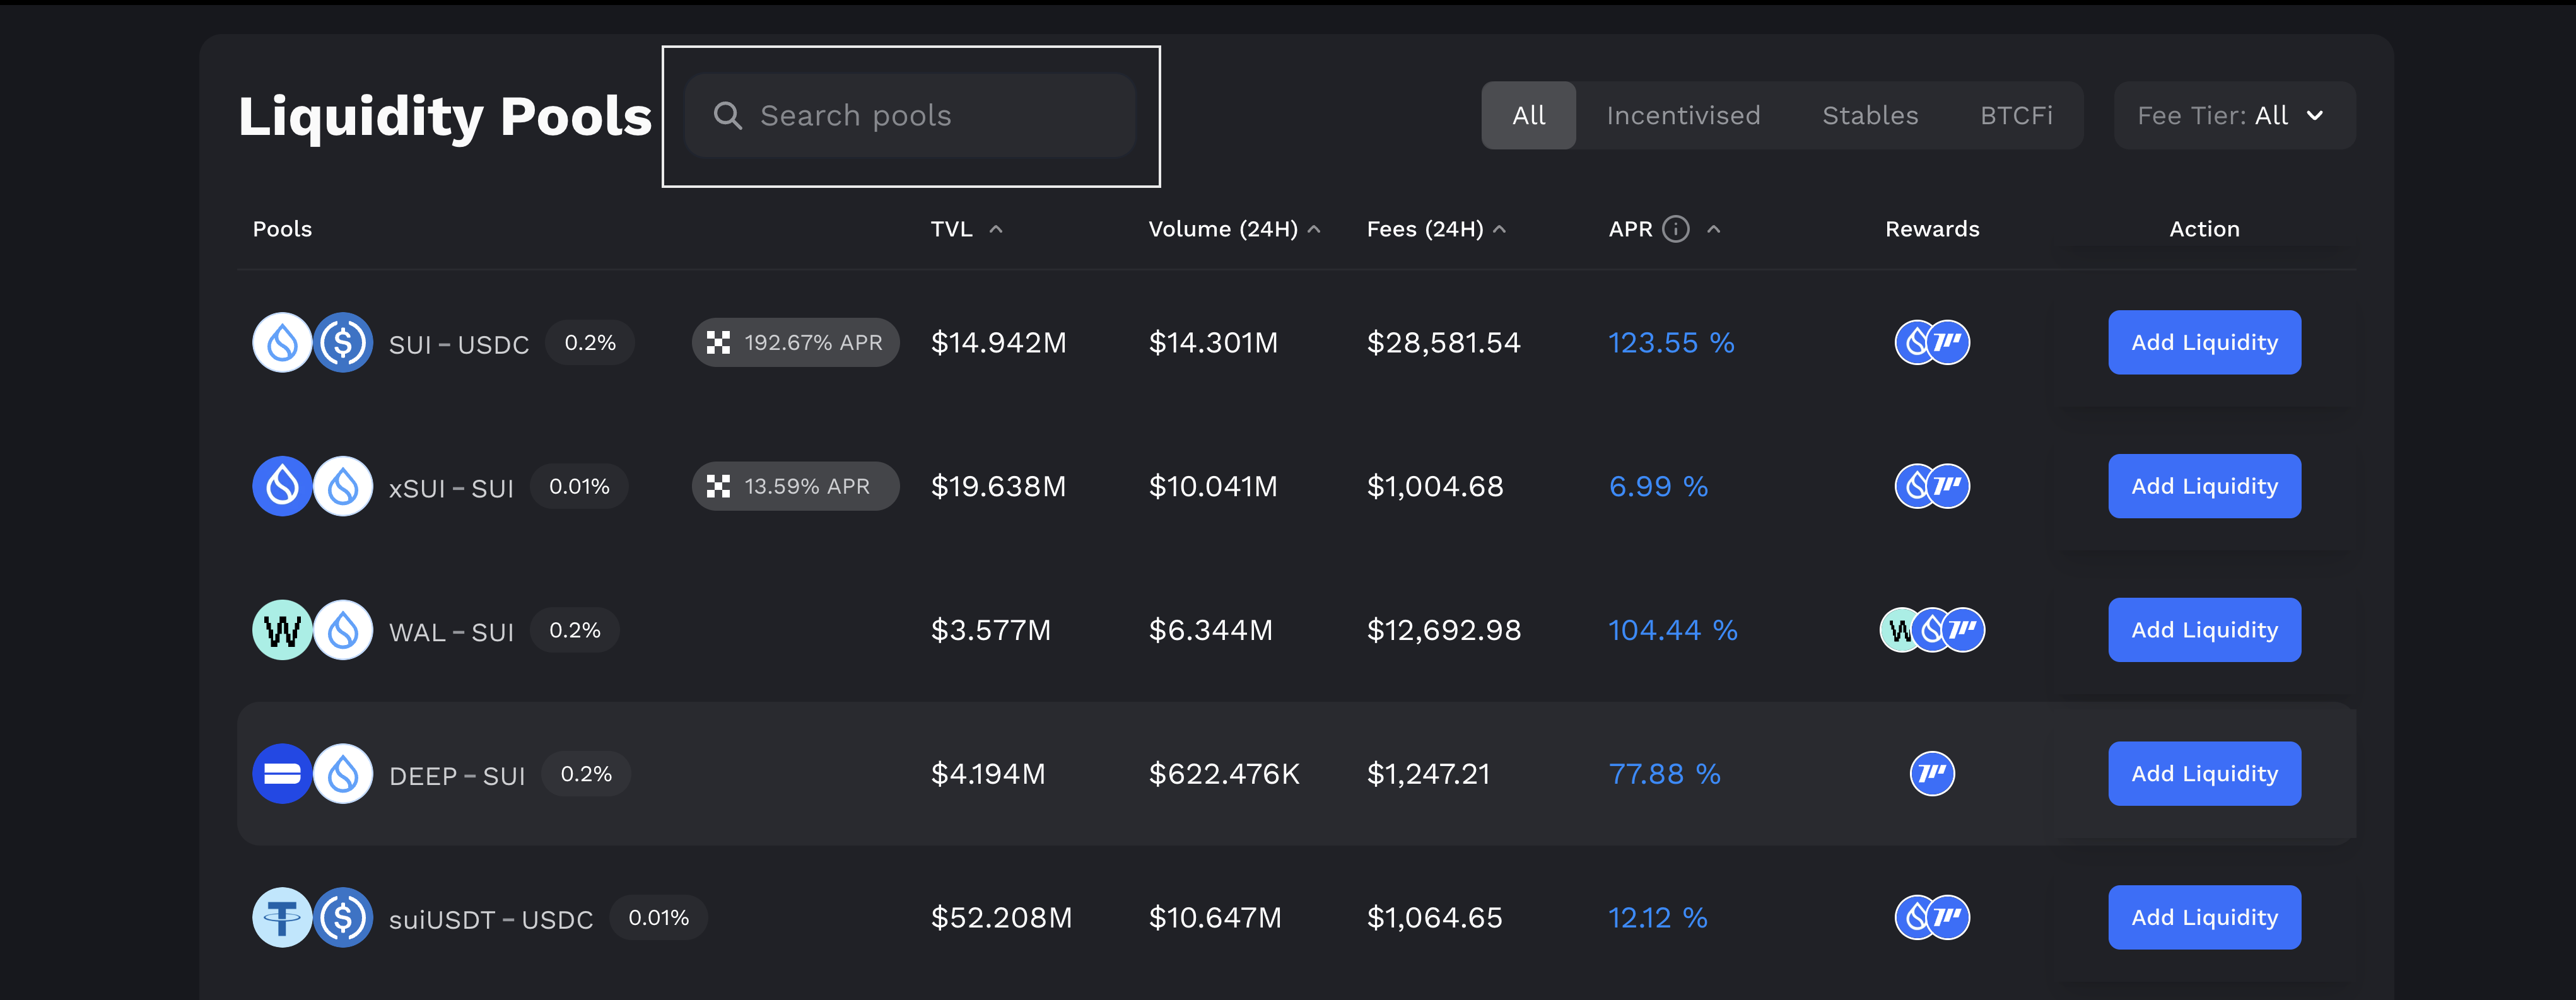
Specify the Price Range for your Trade
On the left, you can specify the price range. You want to select an optimal price range with a decent APR as well.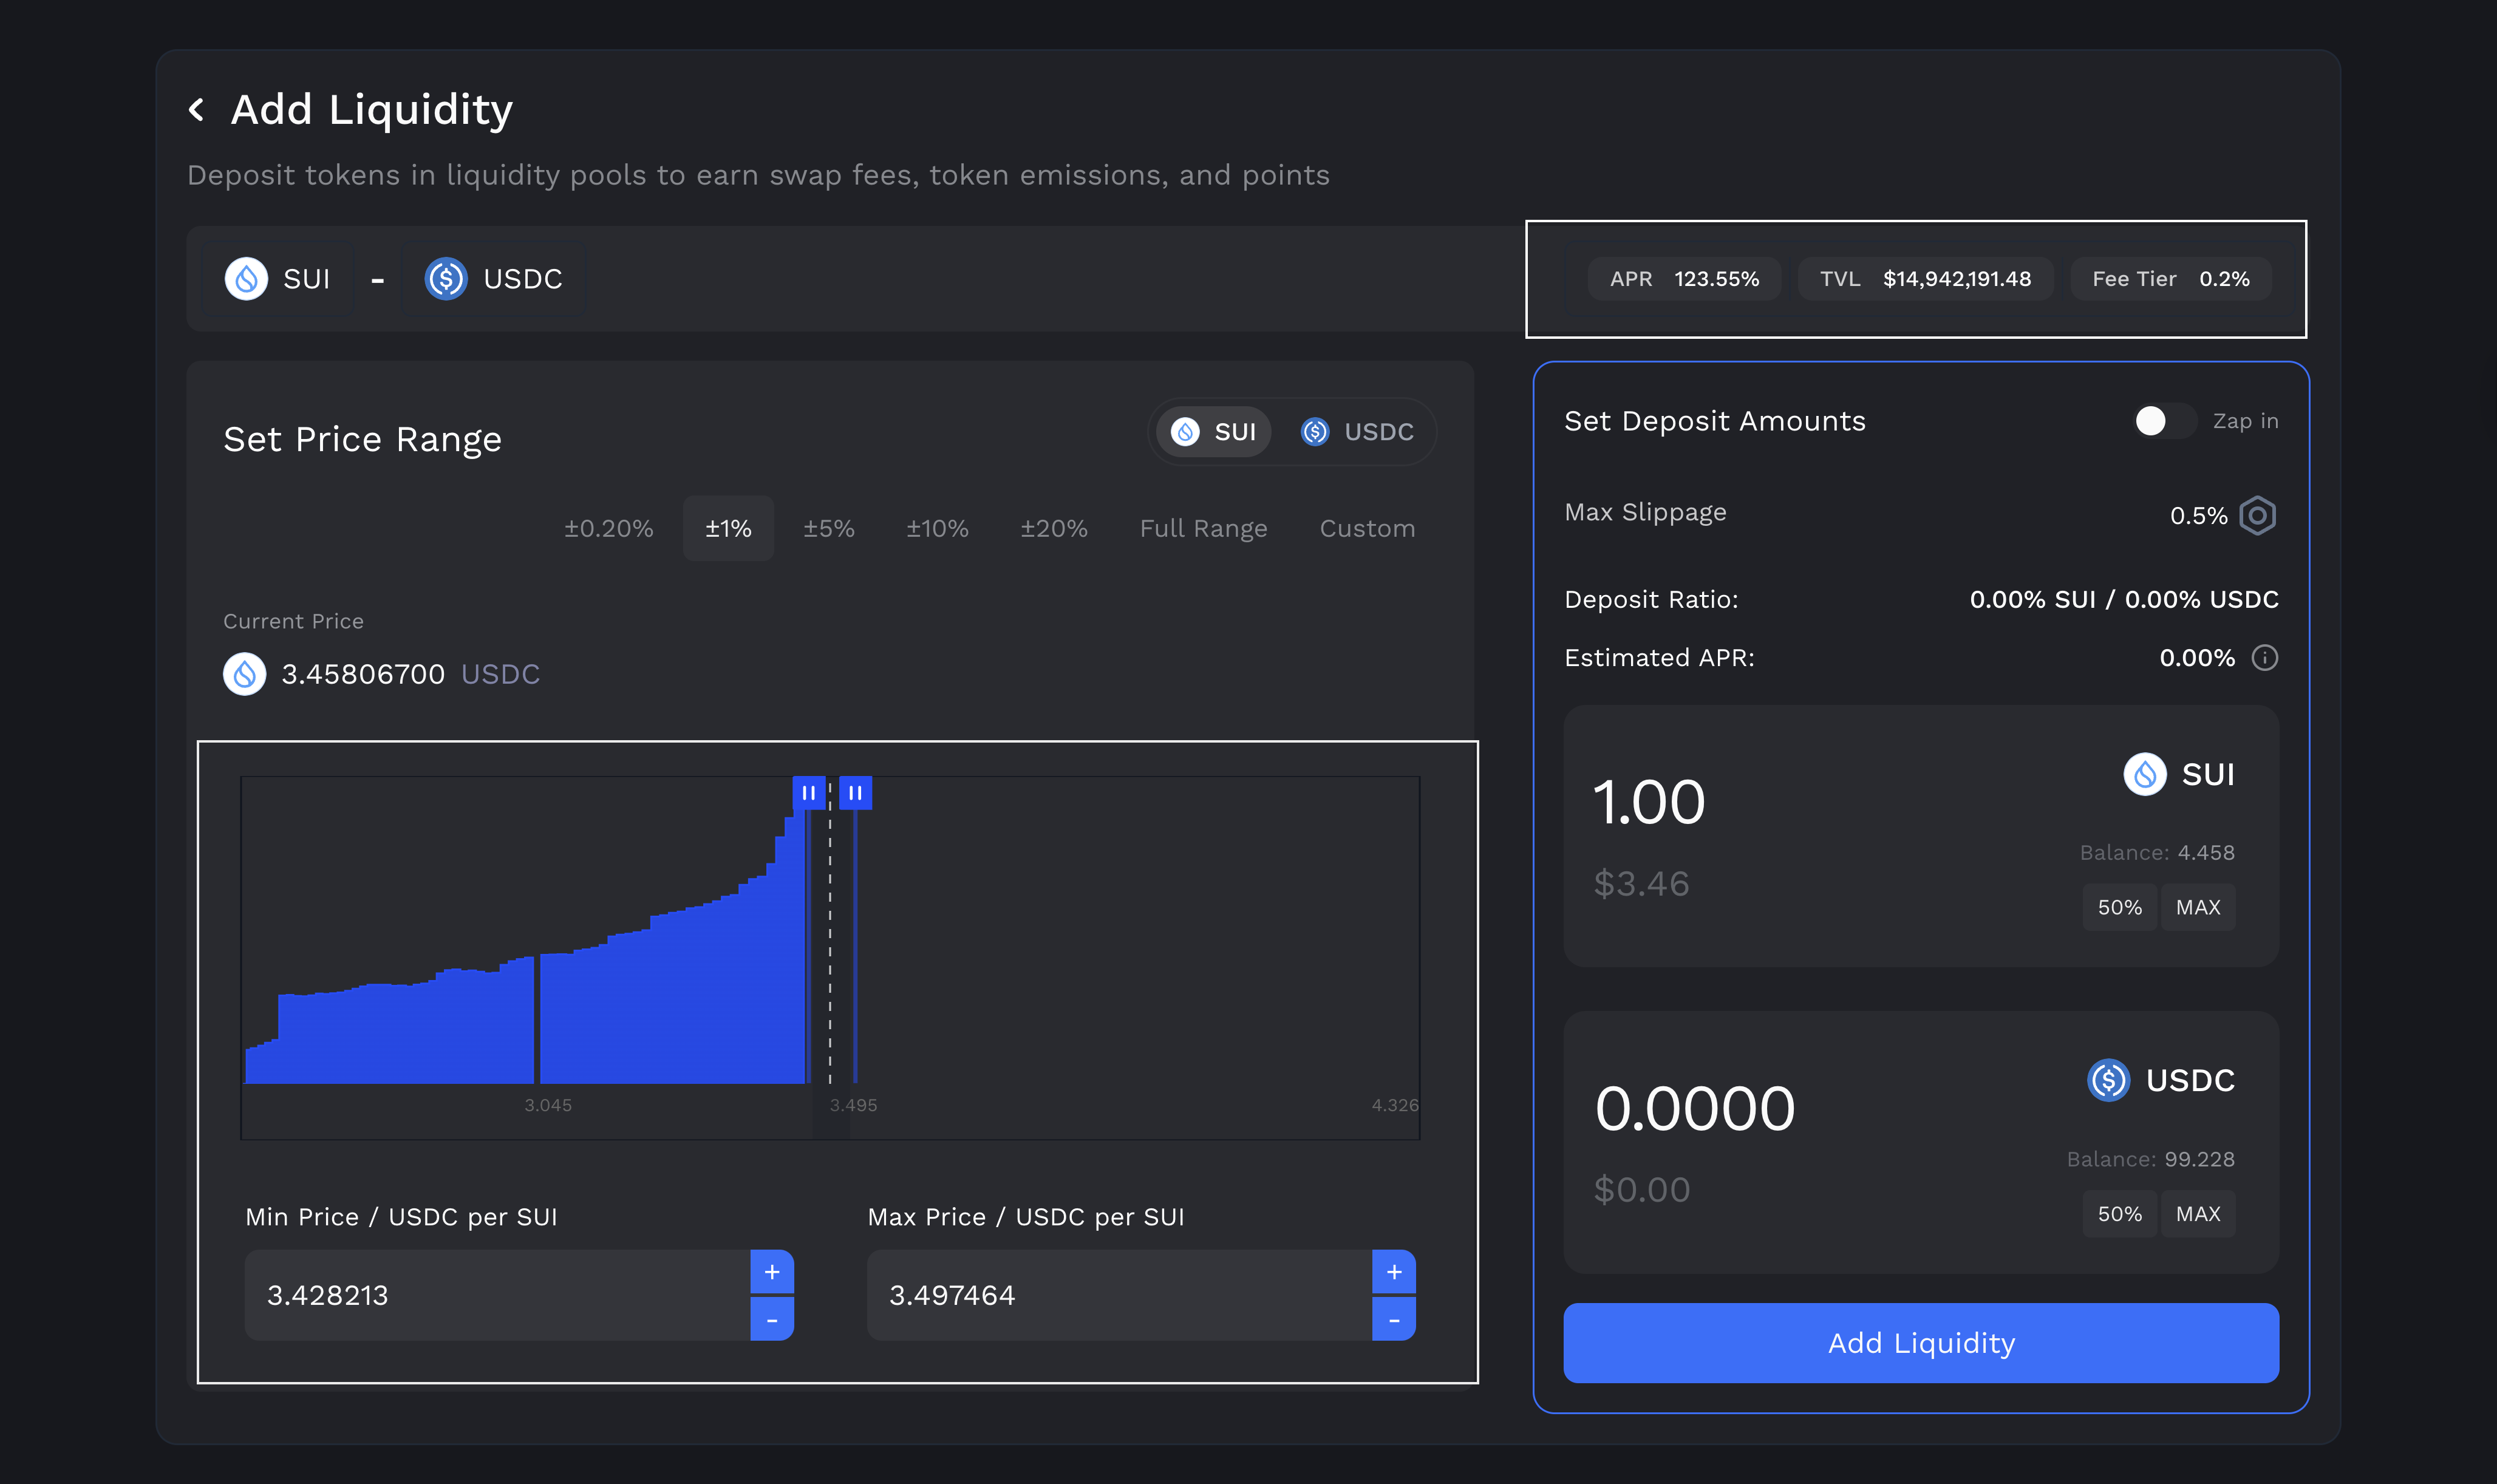
Set Deposit Amount & Add Liquidity
Set the deposit amount for the tokens and set the slippage to a percentage that you’re comfortable with. Finally, add the liquidity.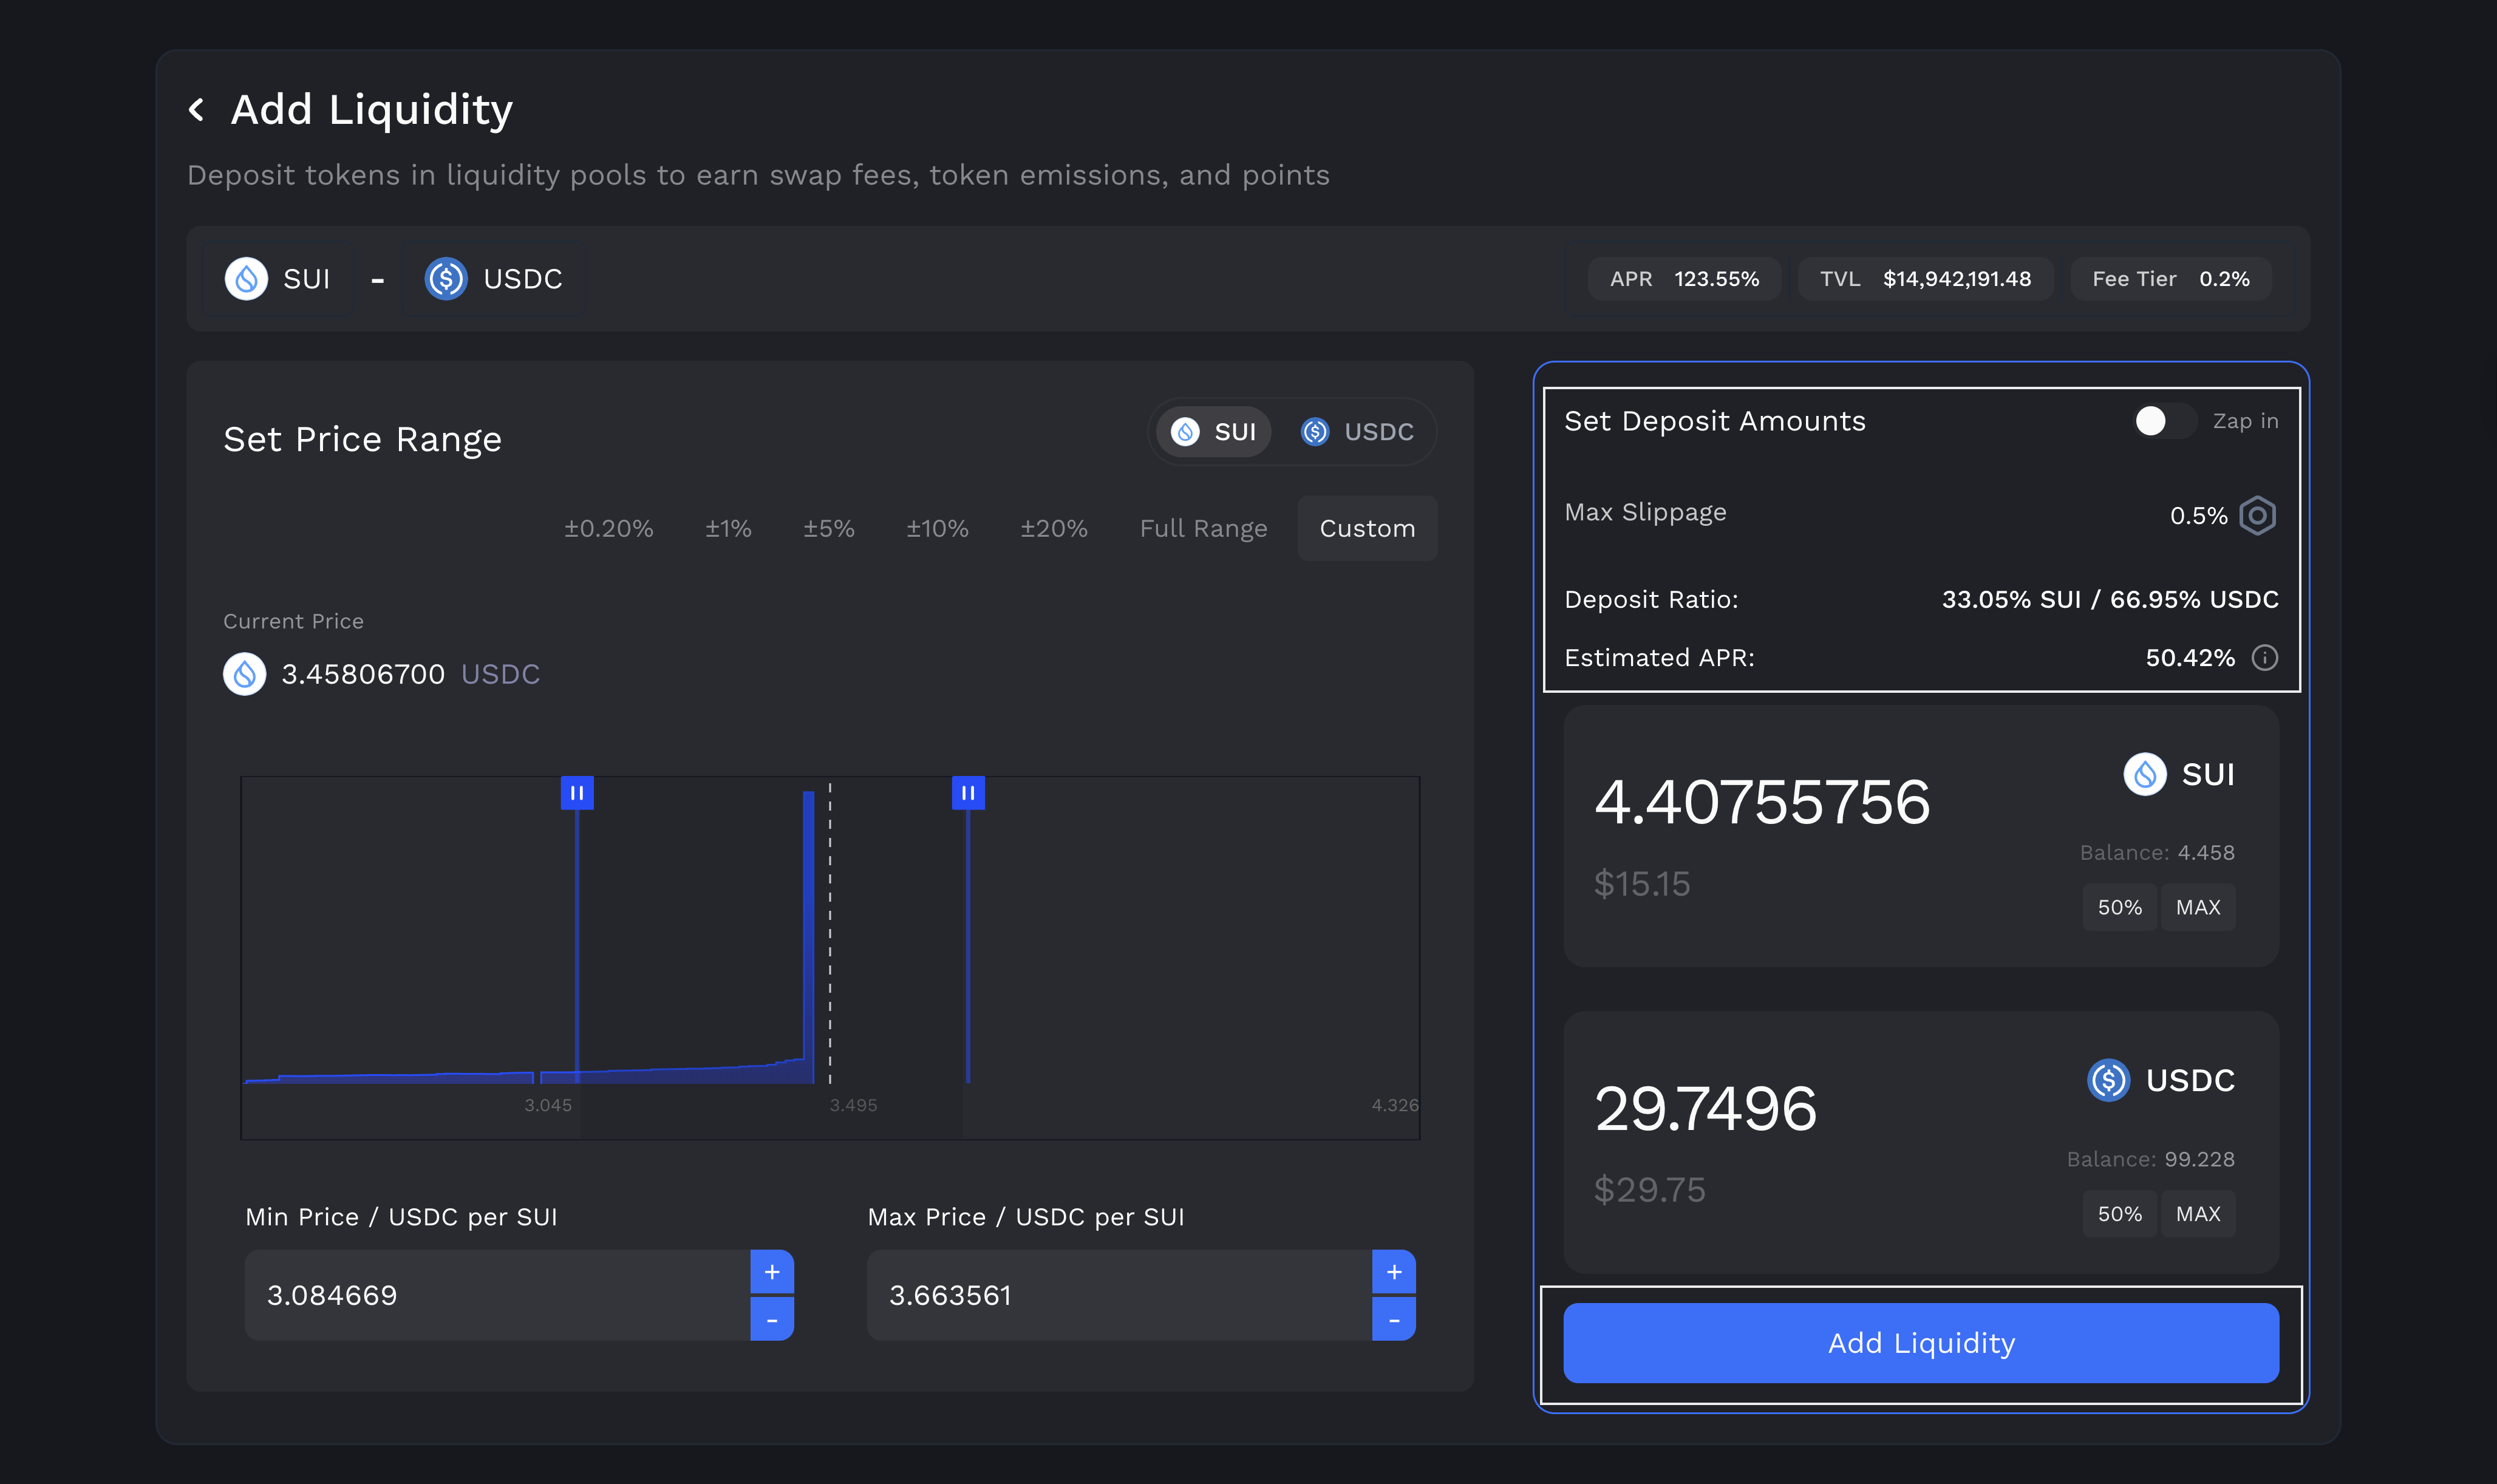
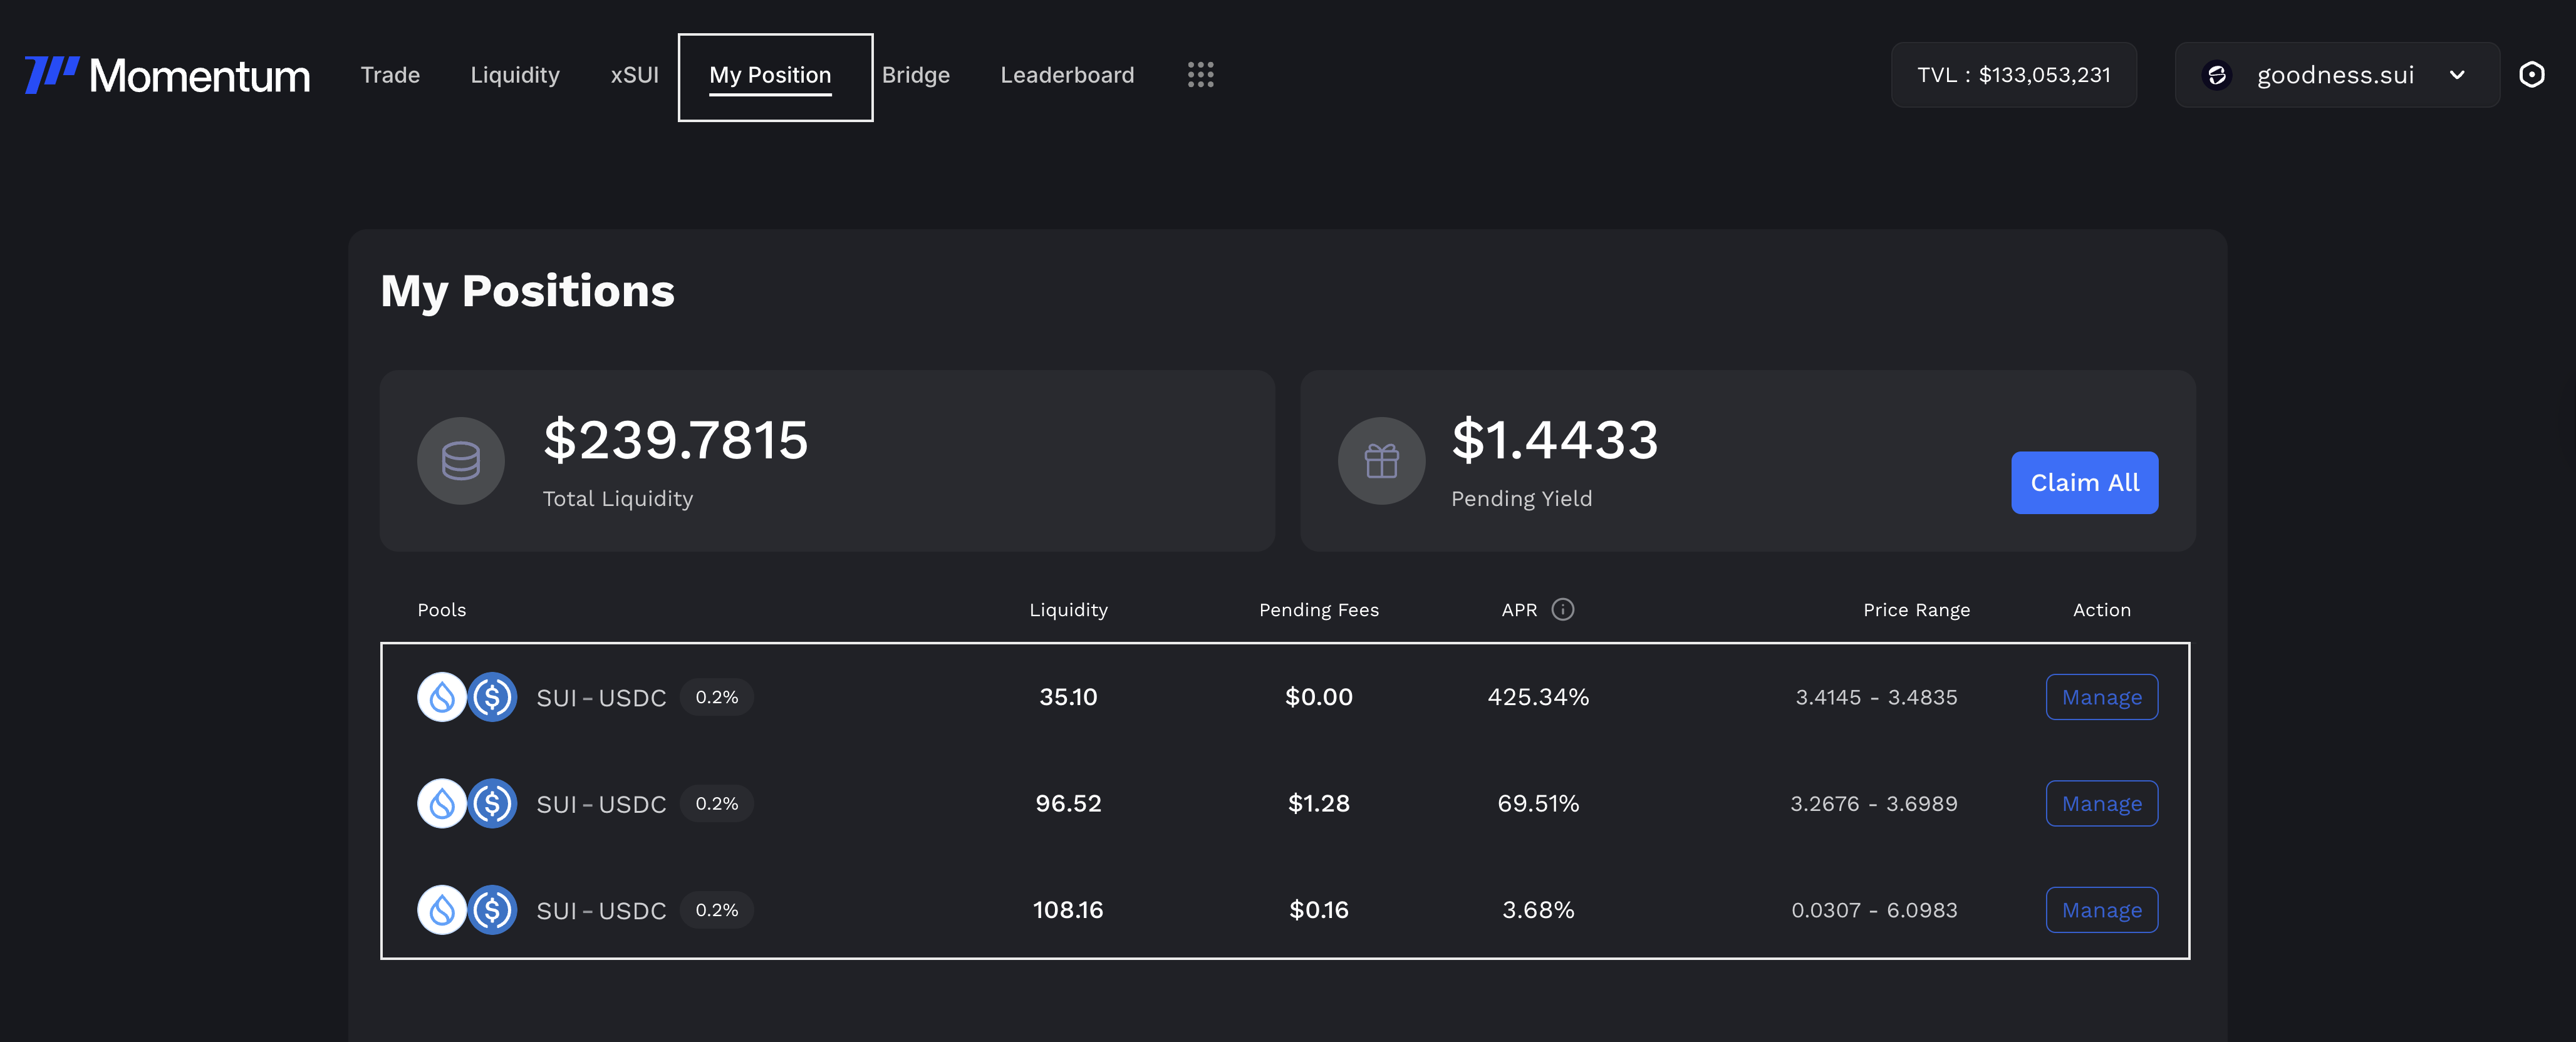
Pay Attention to your Positions
You’ll need to pay attention to your positions so you keep earning when they go out of range. Check out Momentum’s “My Position” page to track your position and claim pending yield.